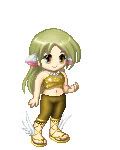
HOW TO MAKE AVI ART (the marge way ^^)
Quote:
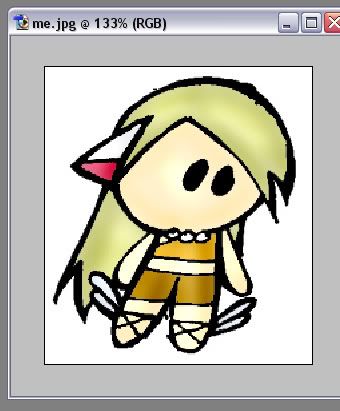
I noticed that bumping in the forums and exploring gaia isnt enough to give you much gold. I tried to bump as much as I can but got as much as 1K per day. So i decided to make this guide for those artists who want to start making avi art! I tell you, there is gold in making avi art.
I have an avi art shop and a free chibi arts thread. Would you believe that I make more money with the free chibis? ^^ If your lucky.. rich people give you big tips 3nodding hihi. But that's not what I was here to say.. hehe This is my guide, hope you will learn something from it ^^.
This is not neccesarily the RIGHT WAY to make avatar art. This is just how I do it.
THINGS YOU NEED:
A Scanner
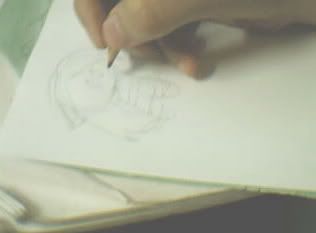
A Pencil
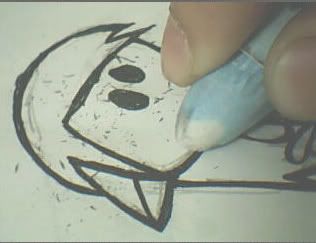
An Eraser
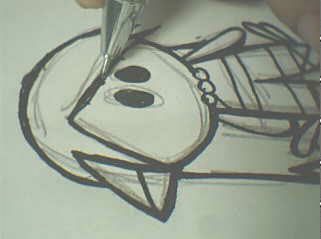
A good Gel Pen
Lots of Paper
A computer (of course)
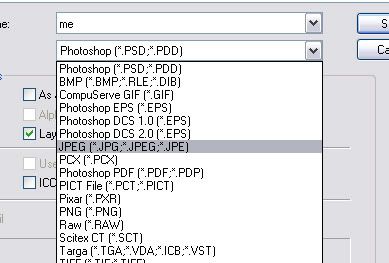
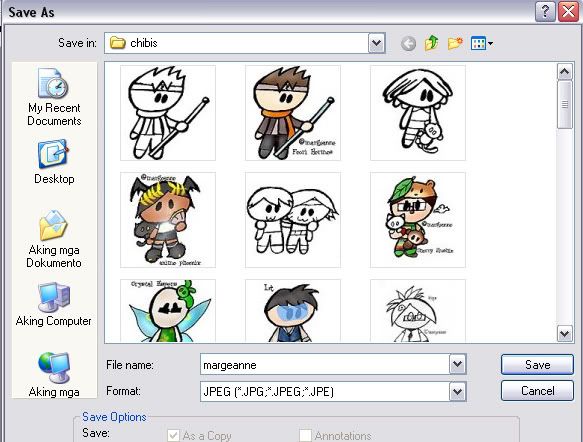
Adobe Photoshop (or any other Editing Programs)
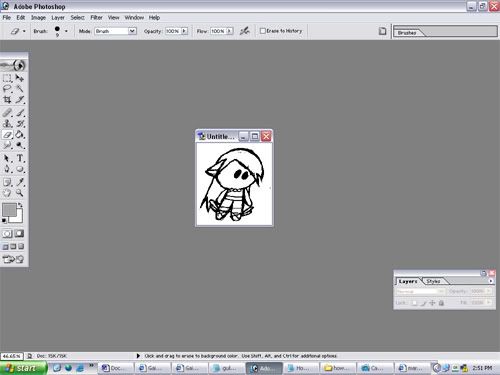
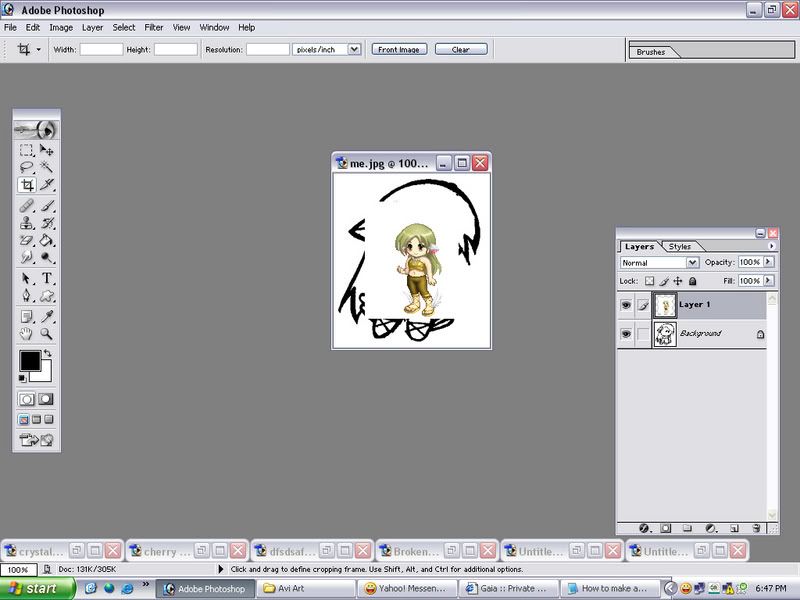
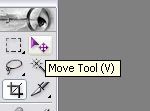
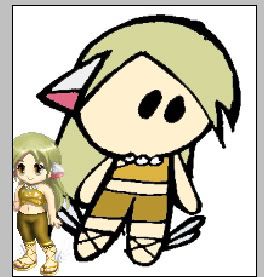
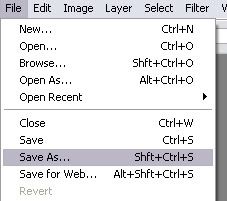
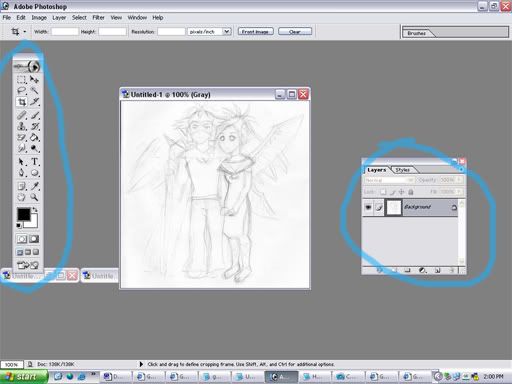
take note of my workspace. make sure that the "tool box"
and "layers window" is open. You can open it by clicking on
Window>Layers and then Tools

THINGS YOU NEED:
A Scanner
A Pencil
An Eraser
A good Gel Pen
Lots of Paper
A computer (of course)
Adobe Photoshop (or any other Editing Programs)
take note of my workspace. make sure that the "tool box"
and "layers window" is open. You can open it by clicking on
Window>Layers and then Tools