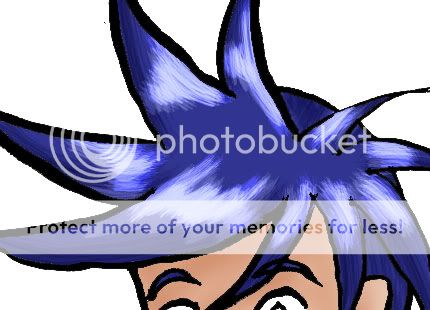
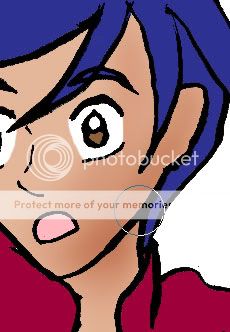
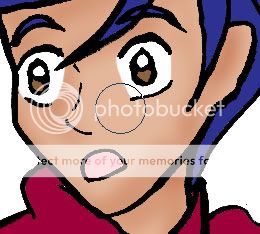
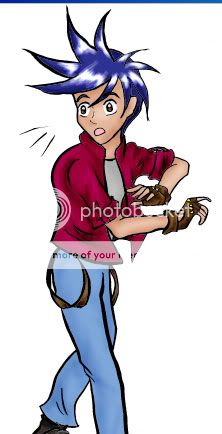
Part 3- adding light and shadowNow, the part you've all been waiting for- adding shadows and highlights on our picture! It's easier than it seems, the only challenge is in choosing where your light will be coming from and how intense you want your light source to be. Once again, remember to save often! This is only how I do it, there are a number of different methods that can be used.
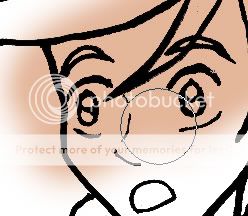
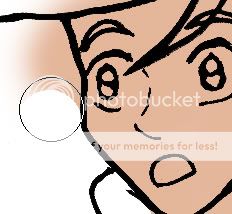
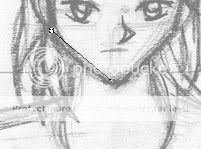
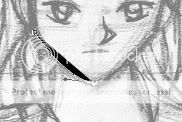
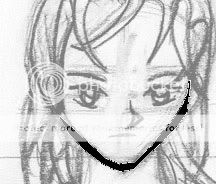
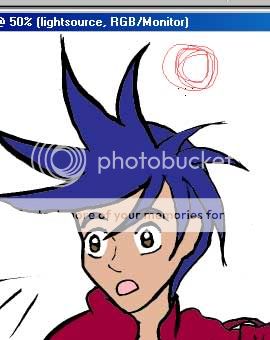
I'm lighting it from just about straight above, if you want to, draw a circle on a new layer so you always know where your light is coming from. Just remember to delete it once you're done using it.
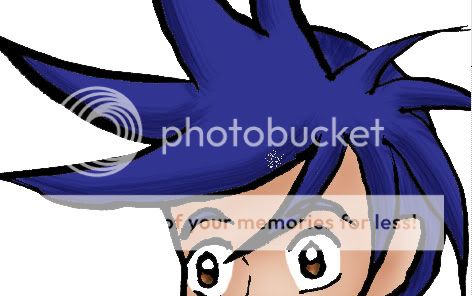
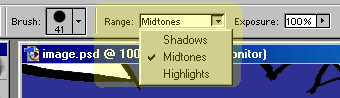
Now, go to your layer for skin. The first tool I'm going to show you is the burn tool.
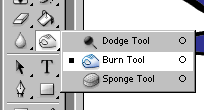
This tool makes things darker, try it.
But it's not exactly what we want the way it is now, so undo it. (ctrl+z to undo the last thing you did, alt+ctrl+z to undo things before that.) We are going to play with the settings to learn the burn tool, first, the exposure slider.

The higer the percent the more intense the burn and the darker the shadow will be. 100% is the most intense, 1% is the least. At 1% you can't even see the shadow, but by going over the same burnt area over again you make it more intense. I don't advise working in anything lower than a 10 % exposure for burning, because it takes so long to get any visible results. A low burn exposure that constantly goes over the same area working your way down so the darkest areas are where they need to be gets a sort of gradiated effect.
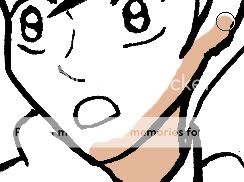
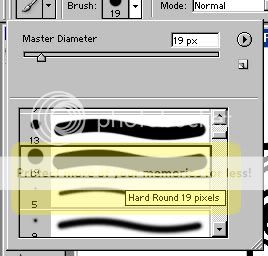
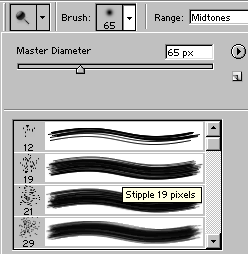
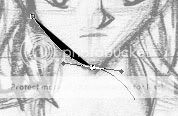
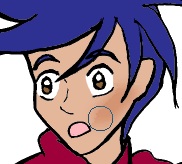
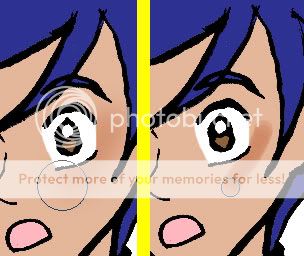
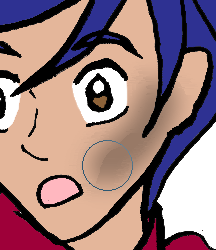
By changing the kind of brush you use you can change the appearance of the burn. See the difference between the default brush and a different one? Both were burnt at 100% exposure.
Now, to show you what the range setting does.
We already have seen what midtone burns do, so lets set the exposure back to 100% and the range to shadows. When the range is set to shadows, the colour becomes darker and more intense where you burn.
Undo that, then set your range to highlights. When the range is set to highlights, the area you burn will lose colour and get blacker.
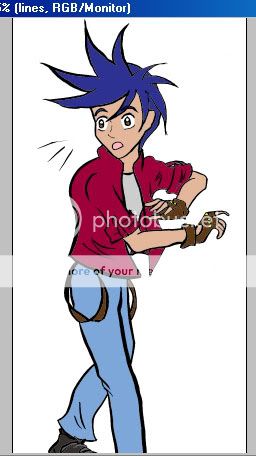
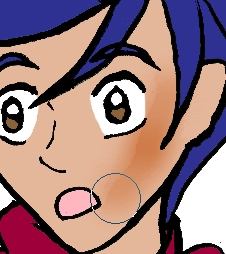
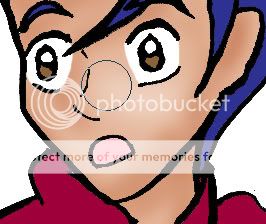
Undo that, now you know the basics of your burn tool. Choose the brush, exposure, and range setting you feel will work best with your lighting. For the skin I am working with the default brush with the diameter set to 38, the midtones range, and an exposure of 29%, however I constantly change my brush size and exposure to make it look right.
Pick out the areas where your shadows will be and burn them. You will want the areas that are more in shade to be darker and the more in light areas to be gotten just very lightly. I can't tell you how to pick out your areas for shading, it relies on your own ability to be aware of where your light is coming from and how intense the lighting is.
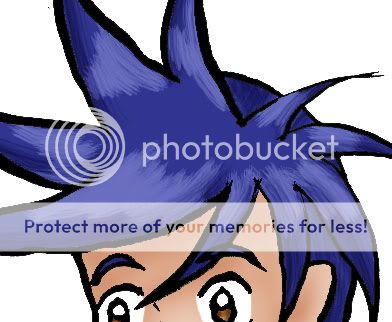
Eventually you will be done with burning the skin and ready to put on highlights. That means learning a new tool! The dodge tool.
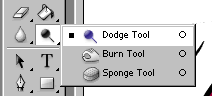
What the dodge tool does is the opposite of the burn tool. It makes the areas you go over lighter and brighter. First, what the settings do:
A high exposure = a more intense dodge.
A 100% exposure (midtone range)
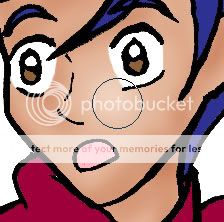
A 1% exposure (midtone range)
Just like with the burn tool, you can't really see the 1% exposure.
When the range is set to shadows the area you dodge will get lighter and whiter but not brighter.
A 100% exposure with range set to shadows
When it is set to the highlights it becomes brighter and sort of lighter, but not whiter.
A 100% exposure with the range set to highlights
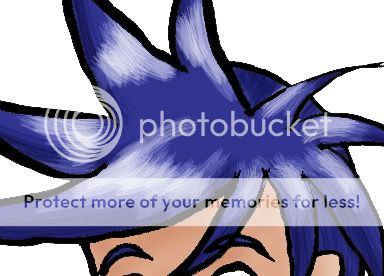
I don't advise dodging with it set to highlights except for special accents like flares on the hair or on clothing.
Experiment with your settings, undoing what you don't like until you find the settings you think look best. This is up to your discretion, just keep in mind how intense your light source is and where it is located.
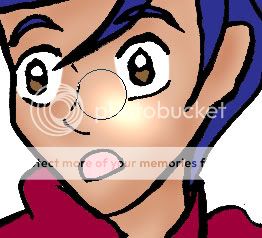
Dodge in your highlights so you get the look you like.
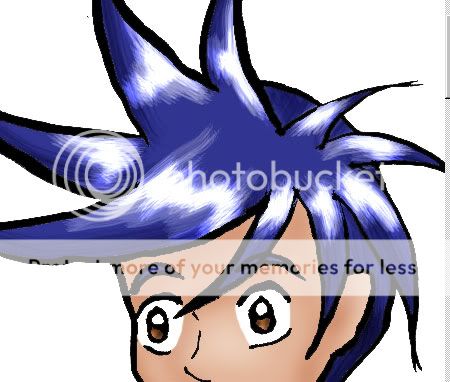
You should burn and dodge all your coloured layers until you've got your shadows and highlights looking the way you like. I tend to save a backup copy of my original base coloured image just in case I decide I don't like the way it look and decide to start over right from square one.
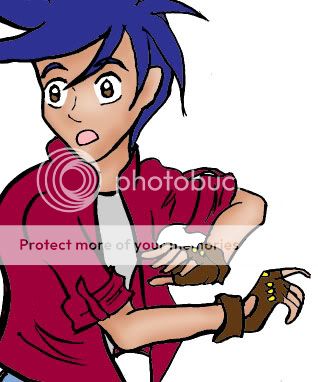
And there you have it, one of many possible methods for applying light and shadow to your photoshop image.
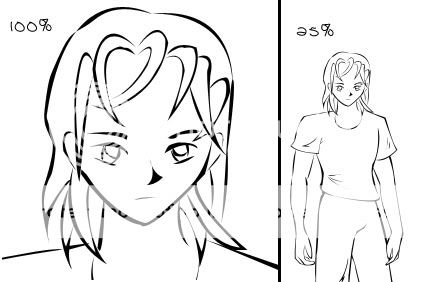
Resize your image easily by going to image>image size. I reccomend that you constrain your porportions and set your resampling to bicubic.
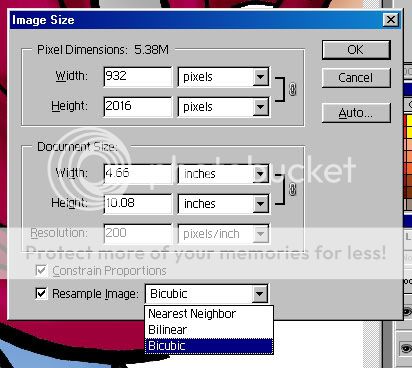
Input the height or width of your image. When porportions are constrained it automatically inputs the pixels in relation to it- like so:
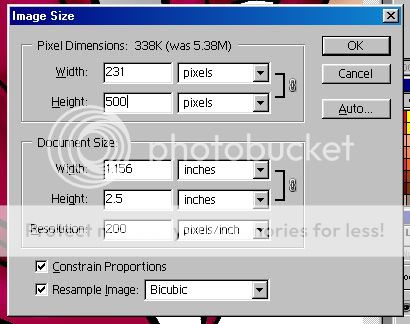
All I had input was a height of 500 pixels and the width automatically changed to keep the image in porportion.
Hit ok and you're done. ^_^
IF you encounter any white fuzz after you do this, fix this simply by creating a new layer underneath all the existing ones except the background, taking a very dark grey or black then colouring in where you can see white fuzz on that layer with either the paint brush or pencil tool.