|
|
|
|
|
|
|
 Posted: Tue Jan 08, 2013 8:05 am Posted: Tue Jan 08, 2013 8:05 am
In this thread I will show you how I grayscale shade and color pets which is usually what I do for edited pets and those of unique lines. Its not something everyone can probably do and takes practice but I recommend this over other techniques of coloring because you can get perfect flesh tone colors and make a wide range of color using this. The shading blends in well together as well because it is all typically on one layer at least it is for me when I do it. You can choose to use layers if you want, but I will not when showing this tutorial.
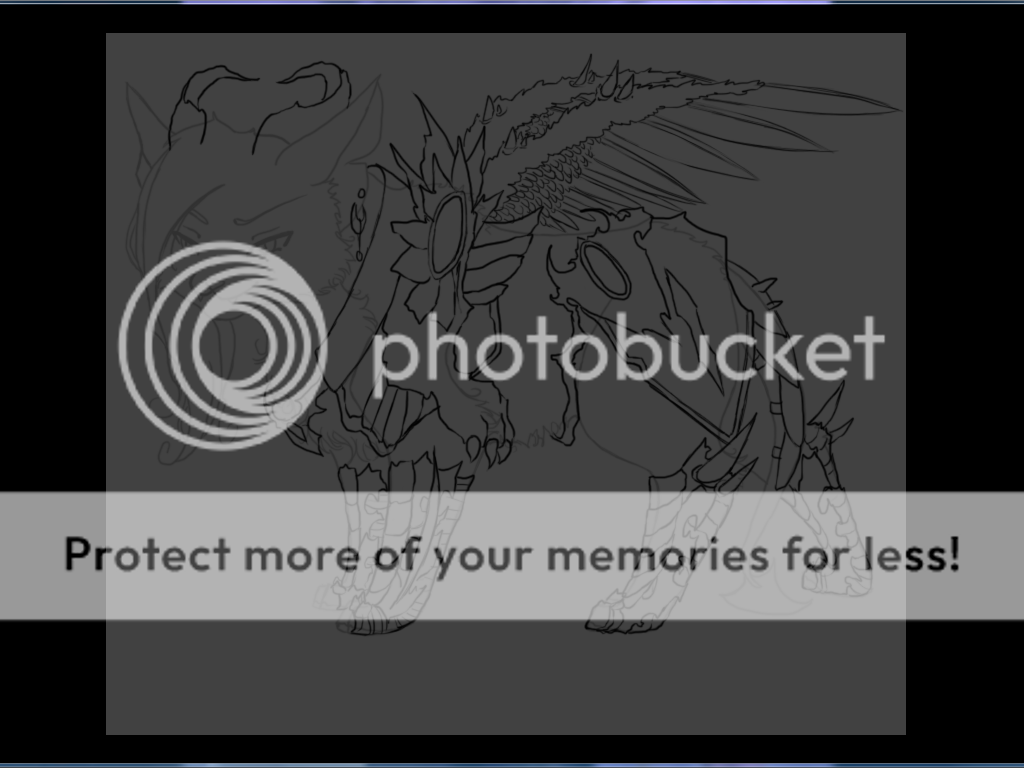
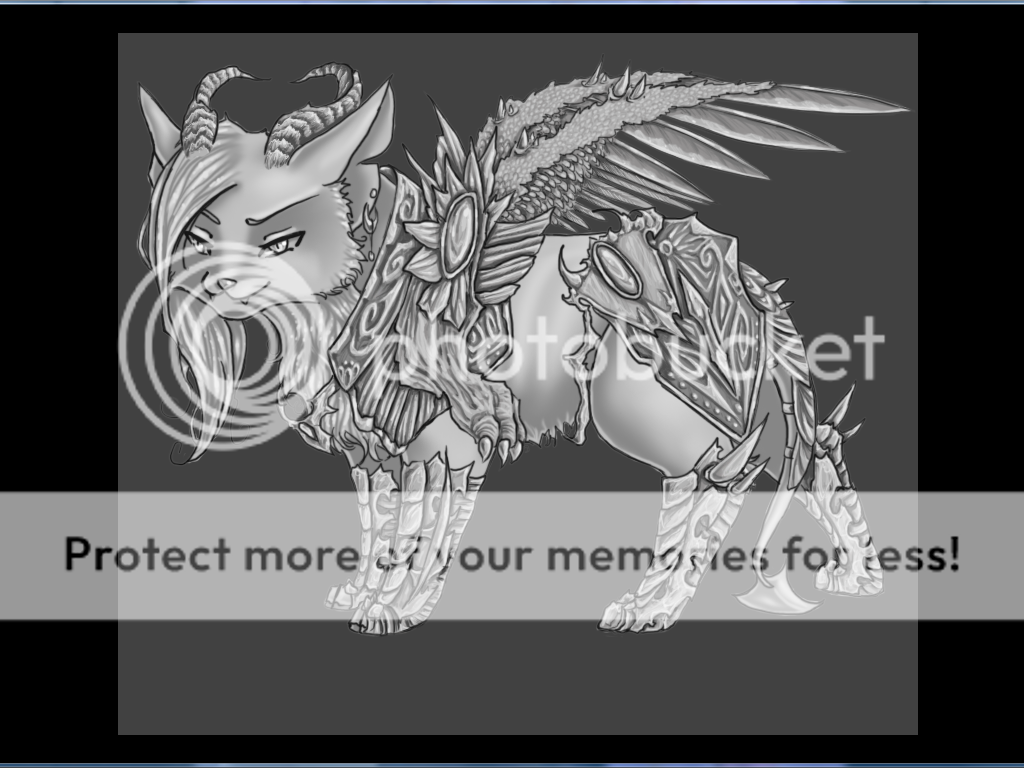
Here in this image I have a basic Incubus pet from wistas that has his edits inked already except for hair. We'll get to hair at the end and you'll see why later as to why I don't add that here.
Make your background a dark gray color first, you are going to need that as well in order to make sure your work stays within the lines. Now to begin.
|
 |
|
|
|
|
|
|
|
|
|
|
|
|
|
Posted: Tue Jan 08, 2013 8:10 am
Create a new layer under your edit lineart which is your layer you will use to create your shading on. Make sure its set to "Normal" before you begin and pick a color that is a light gray. Be sure there is NO color saturation AT ALL when you pick any of your colors on any of these layers. You want these colors to be all the way where there is black and white and this particular color I chose is a little above the middle between the two. Its always best to start around the middle somewhere but you want it lighter. Its always easier to get darker later but it won't be to get lighter. Trust me.
Now fill in all around where your edits are. You can be messy initially if you want and erase around the edge, but all in all, you need it to not be outside the lines for the most part.
|
|
|
|
|
|
|
|
|
|
|
|
|
|
|
|
|
|
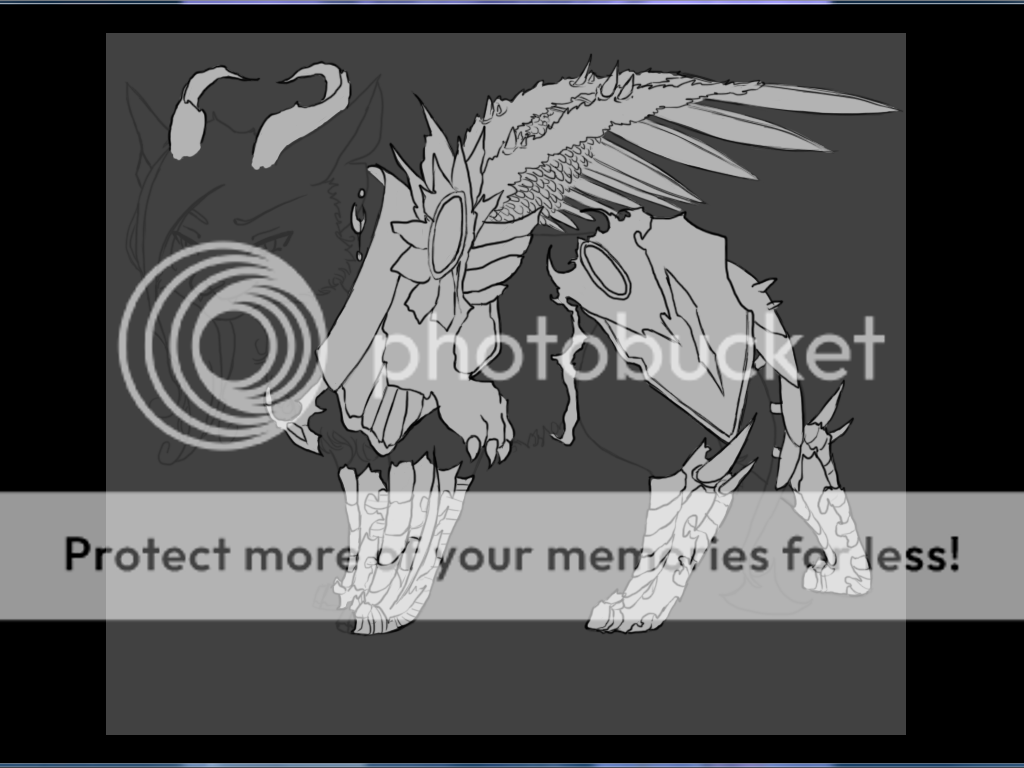
Posted: Tue Jan 08, 2013 8:16 am
Color lock both your edit lineart and your layer that now has your merged layers. Color pick your light gray (or if you have a color pallete on another layer, that's better for you when doing this to color pick from) and now go over the whole layer of light gray with your light gray you color picked. With the layer color locked, your black lines that you merged will now also be light gray so the entire layer is one color. It looks much better now doesn't it?
Next go to your edits lineart and color pick a dark gray color, just a bit above black, and with it color locked you paint over everything in that layer. It will look dark gray but we aren't finished. Last change the layer blending mode to "Multiply" and it should look like the above picture. Now anything you color will automatically have colored lines. Its much more simple than having to free hand color them like other templates do.
|
|
|
|
|
|
|
|
|
|
|
|
|
|
|
Posted: Tue Jan 08, 2013 8:20 am
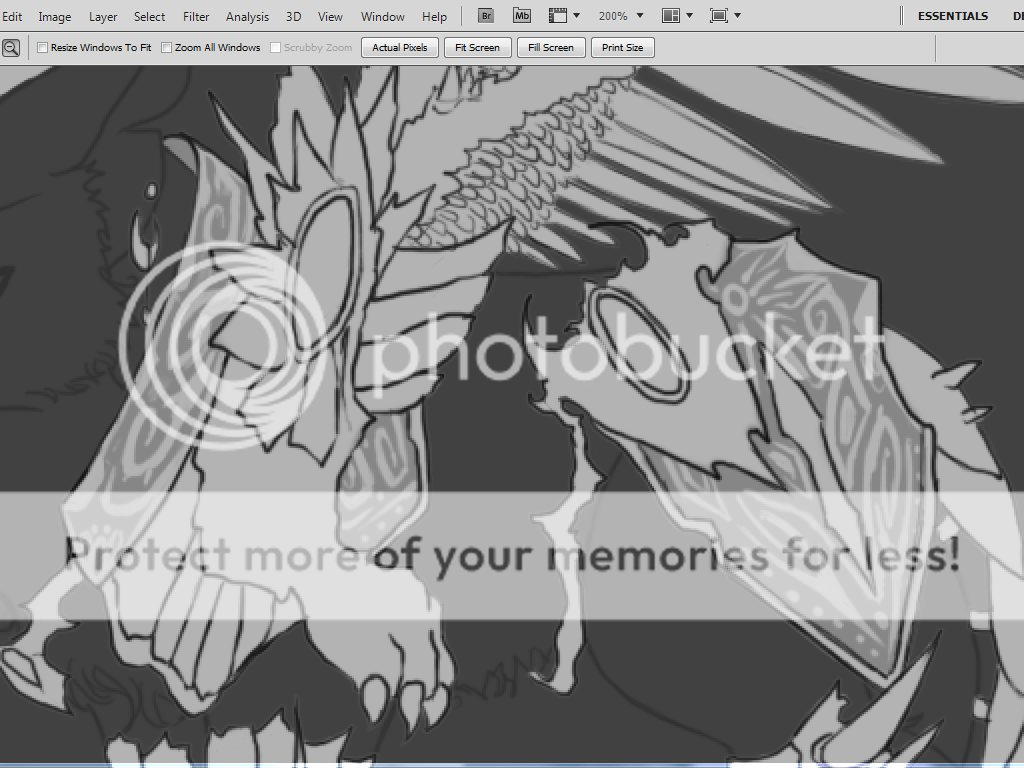
Now we begin shading. I'm going to start with the intricate markings of this Demon Lord Incubus's armor. Its the most difficult on it so I will begin there. Markings like this armor are a lot easier done by starting off dark and then working light before adding in detail shading so we'll start off with a slightly darker gray than the starting gray here where the detailed armor is. Fill all that in and remember not to get too dark, just very little. We are going to add darks later.
|
|
|
|
|
|
|
|
|
|
|
|
|
|
|
|
|
|
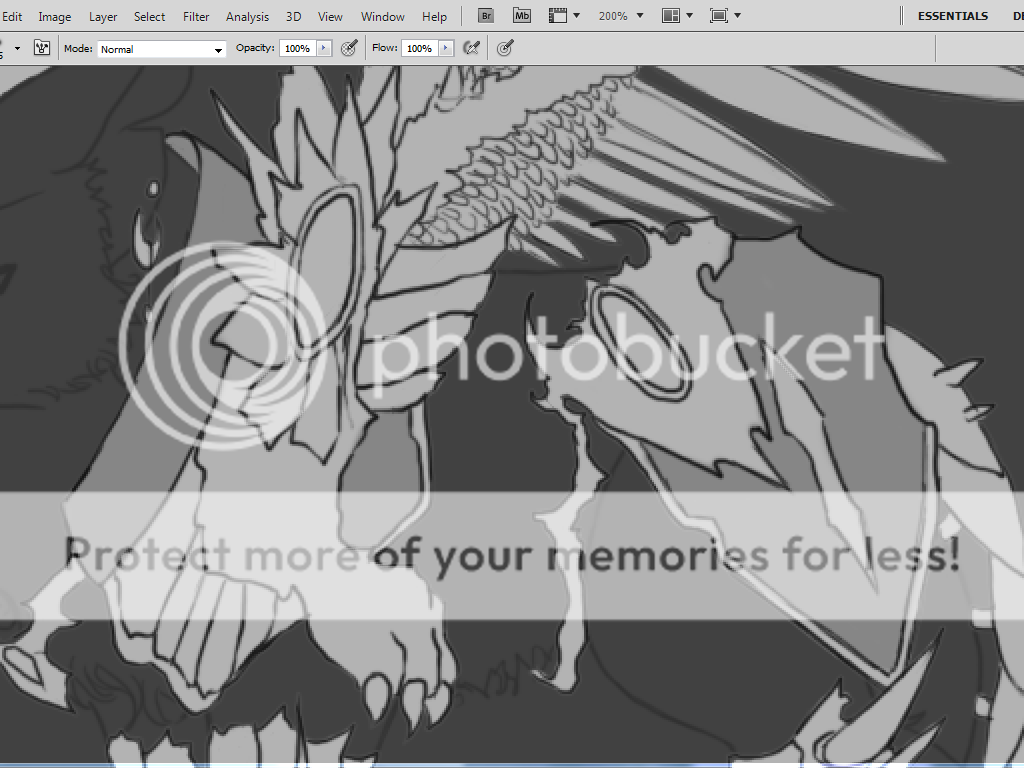
Posted: Tue Jan 08, 2013 8:24 am
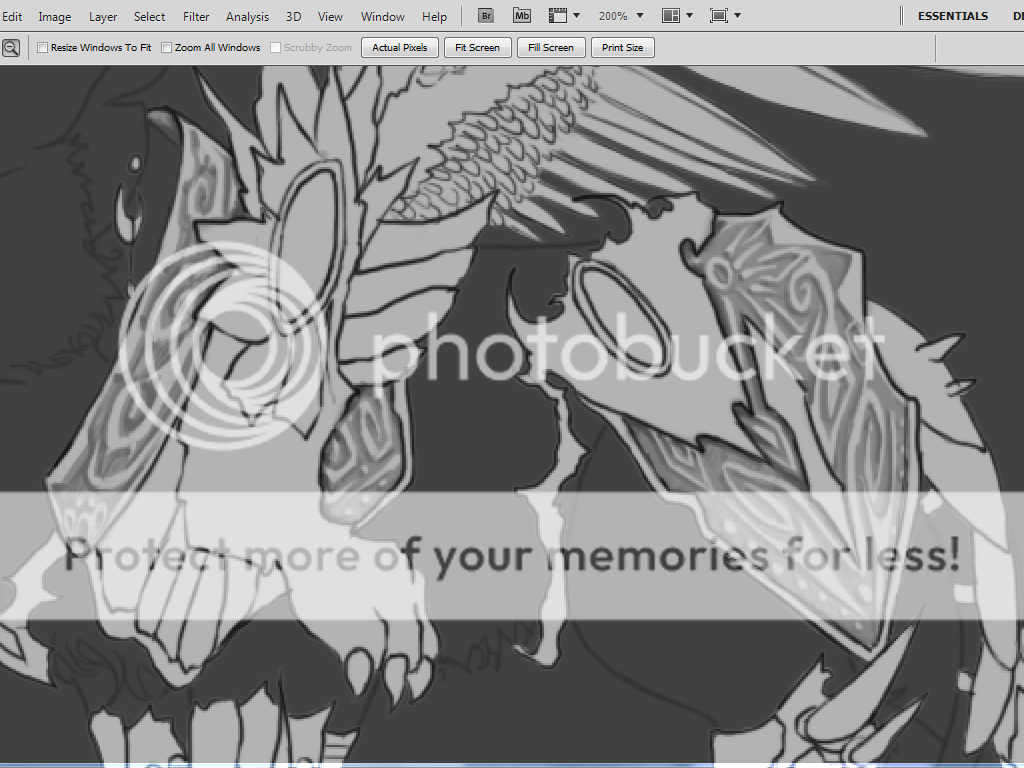
Now with the light gray, start making your detailed pattern. This is a carved sort of metal working or maybe something that maybe was melted and then the molten metal was put into a mold that was carved so these markings are going to be looking like that. All I did here was decide what sort of designing I wanted for the armor and went with it. I always make sure the edges are light for all my stuff that overlaps something else edit wise. You can see a previous shading tutorial here on more detailed information on how I shade exactly but this one won't show you that. I shade exactly the same still except its more detailed that before adding one or two more layers of shading and highlights how I see fit to get the look I want. Armor, gems, hair, ect... its all shaded the same still just with more detail. .
|
|
|
|
|
|
|
|
|
|
|
|
|
|
|
Posted: Tue Jan 08, 2013 8:28 am
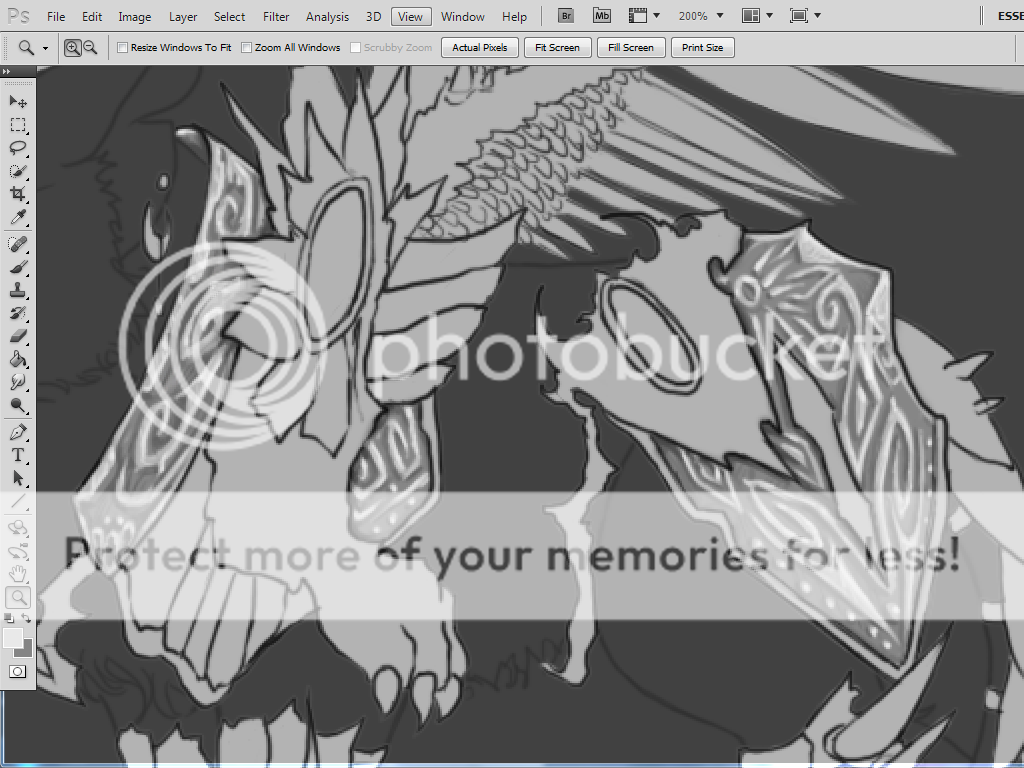
Now add dark shading to your design. Start out just a little under the darkest color you started with before on this and for mine was the dark gray from before I colored the whole thing in, and then you build up in darker colors until you are satisfied with the look. You need not get too dark even though it may not LOOK dark though. You are going to put your highlights in next and your shading will really pop then ^^
|
|
|
|
|
|
|
|
|
|
|
|
|
|
|
|
|
|
Posted: Tue Jan 08, 2013 8:33 am
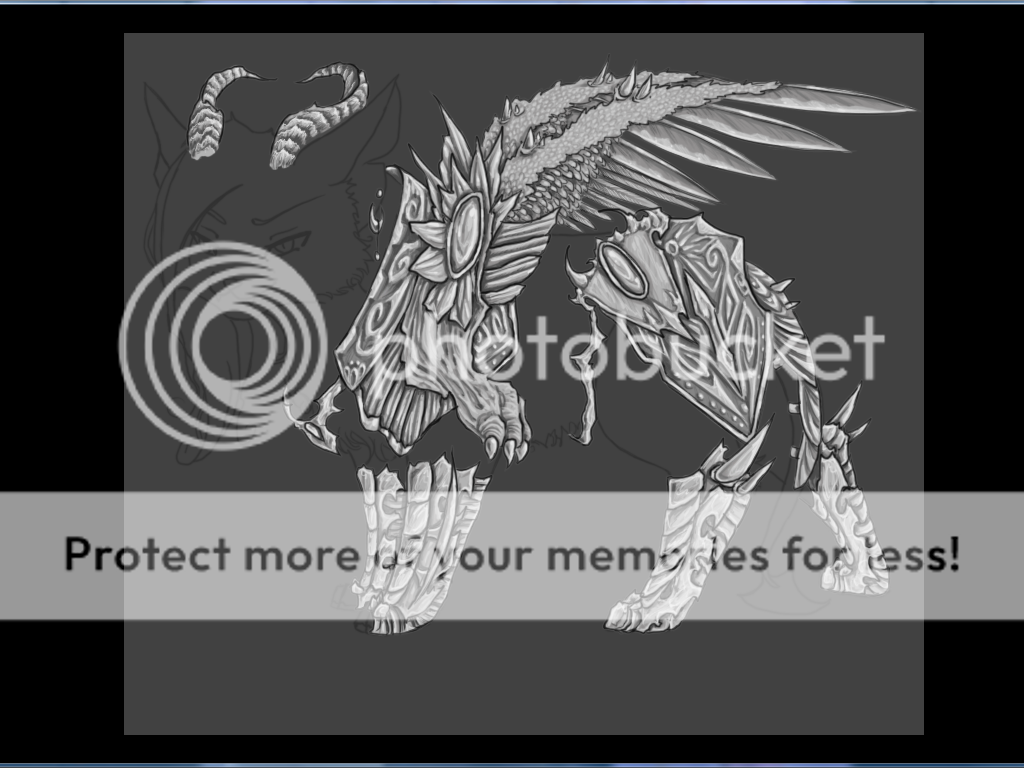
Last you will add in your highlights to your edit. You will start out with a darker highlight like a bit above the light gray everything else around your edit is covered in and then build up in brightness depending on what it is. This is a metal so it of course will be much more shiny than that of his wings for example that are soft so those will not be shiny unless for some reason I made them be so. So think on what texture your item is too while you are working on this. For skin tone I brush a lot of very light dots all over to give the illusion of real skin to it. ^^
Now you do this to all of it. Keep it all around more or less the same shading colors and only varying it depending on texture for right now. I'll be back after I finish all his so this can move on.
|
|
|
|
|
|
|
|
|
|
|
|
|
|
|
Posted: Tue Jan 08, 2013 11:37 am
By this point, now you should have all your editing layer there shaded. Its time to work on the pet itself.
|
|
|
|
|
|
|
|
|
|
|
|
|
|
|
|
|
|
Posted: Tue Jan 08, 2013 11:41 am
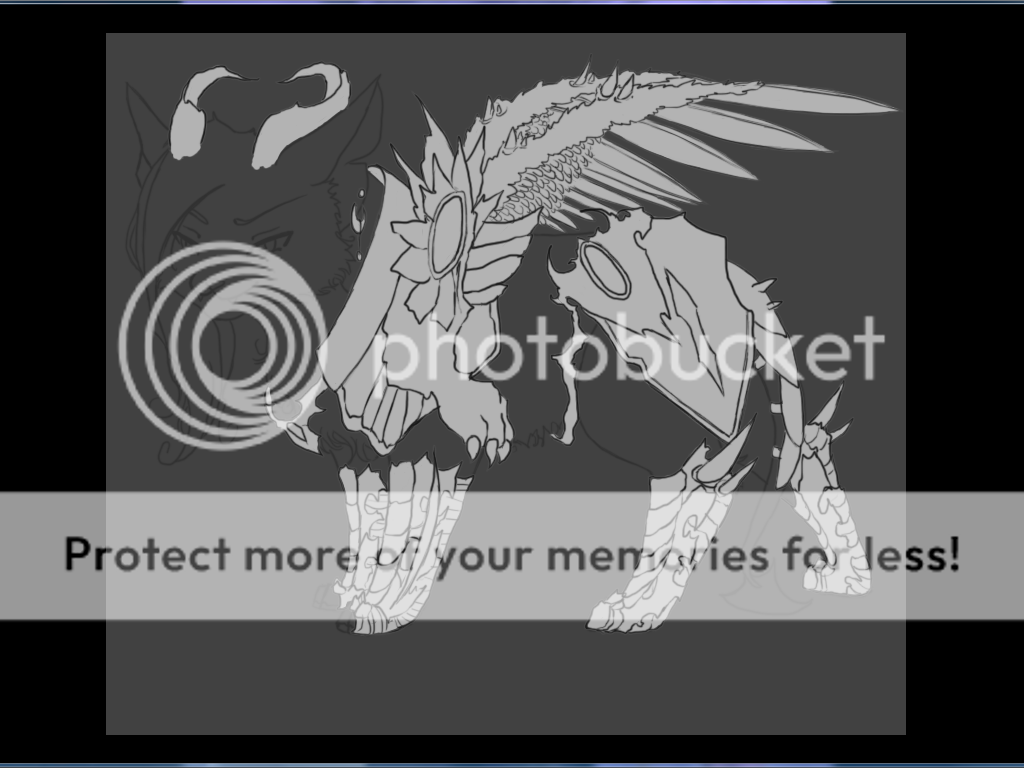
With Wistas, as with most B/Cs it is the norm that all pet templates follow a certain way they are shaded and can be colored so that any one can color them. Its no exception here but this causes a wee problem when trying to make everything grayscale. You want the pet as well grayscale and the wista templates are well... not as you can see here this is what the Incubus looks like for the most part when I get it from my computer.
All is not lost, however, it is very simple to change any template to match exactly whatever style you are making for your edits. I'll show you how I will make these overlay and multiply layers with no colored lines go exactly to that of my edited lines.
|
|
|
|
|
|
|
|
|
|
|
|
|
|
|
Posted: Tue Jan 08, 2013 11:47 am
Then color pick your light gray you used while editing and make your entire color layer that and release its "transparency lock" when you are finished. You can find that in the layers box on the right of your photoshop. It will be a checkered looking box that says "lock" beside it. Uncheck that. Now go to your pet lineart and uncheck the transparency lock of that if it has one. Duplicate that layer and move the duplicated layer to directly above your color layer of your pet and then merge the two layers. Re-lock the transparency of the color layer and then color the light gray over everything in the layer. You should then go back up to the lineart layer, re-lock the transparency, make it the dark gray you used in your edits lineart and make it a "multiply" layer. Now your pet is just like that in the beginning of how you made your edits.
|
|
|
|
|
|
|
|
|
|
|
|
|
|
|
|
|
|
Posted: Tue Jan 08, 2013 11:51 am
Next go to your shading layer of your pet. Make sure the transparency is locked and opacity is 100% before you begin. Also be sure to make it a clipping mask once again with your color layer so your shading is not outside the lines if it is. Then change its mode to "Normal." Color pick one of the dark colors from your edits but NOT the darkest you used in your shading for this. Fill in the entire layer with this color.
|
|
|
|
|
|
|
|
|
|
|
|
|
|
|
Posted: Tue Jan 08, 2013 11:53 am
Then go up a layer to your highlight layer and make sure it as well is a clipping mask with your color layer. Make the opacity 100% and it as well a "Normal" mode layer. You will fill in this entire layer with one of your lighter colors of highlighting but not your lightest.
|
|
|
|
|
|
|
|
|
|
|
|
|
|
|
|
|
|
Posted: Tue Jan 08, 2013 11:57 am
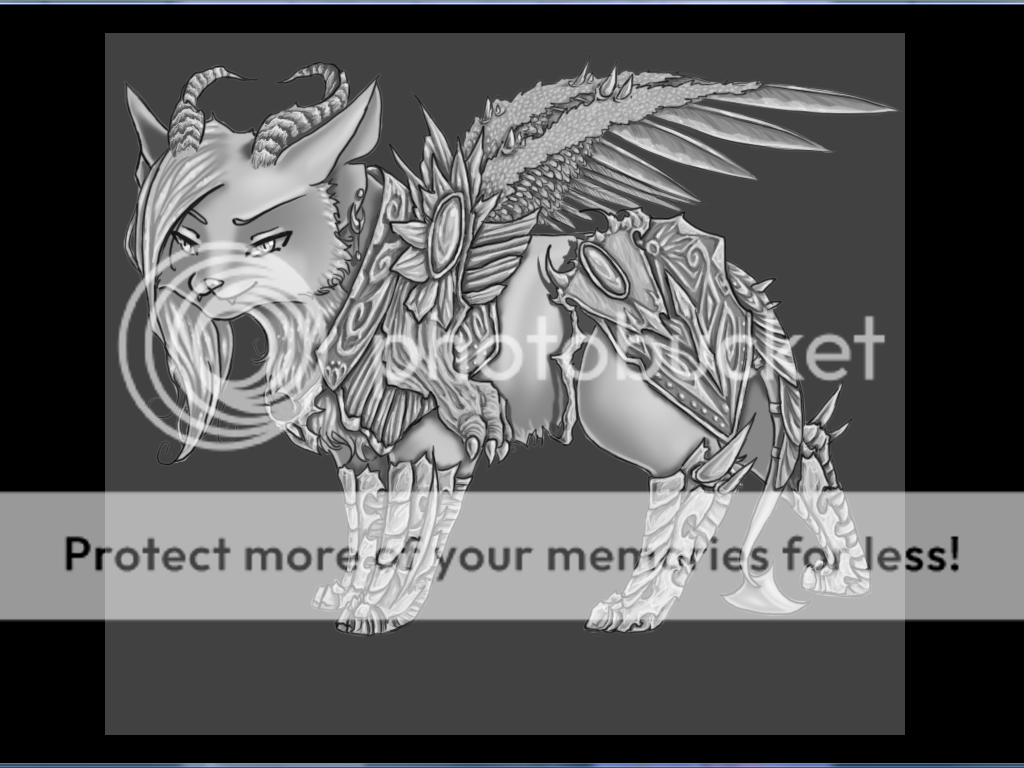
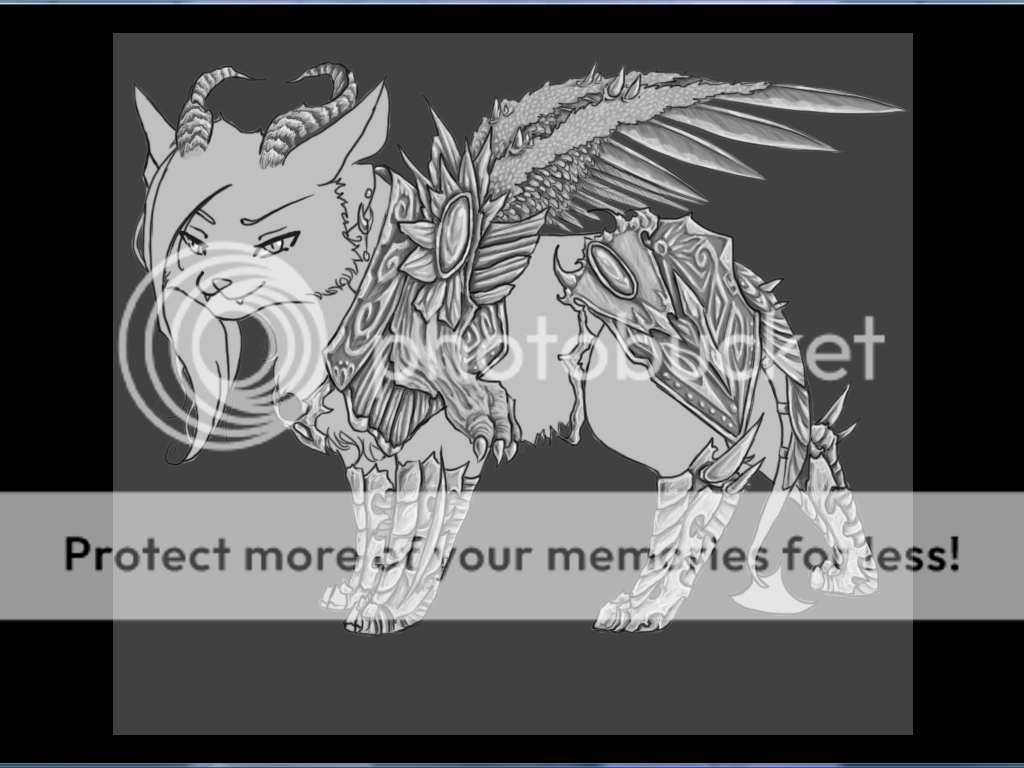
Last, Wistas has a second highlighting layer for shiny things and hair. This needs to be your lightest highlight color you had made in your edits. You are going to do the same thing to this layer that you did in the previous layers. Make it a clipping mask, its opacity 100%, and make its layer mode 100% and you will get something like the above picture.
It looks nice but its not quite done yet.... You still need to make overcasting shadows onto your pet's base that your edits are creating. If you don't they are just sort of... well........ as you can see they don't exactly belong there so its best to fix that.
|
|
|
|
|
|
|
|
|
|
|
|
|
|
|
Posted: Tue Jan 08, 2013 11:59 am
Before doing anything else, you will first merge all the layers of the pet. You want to make all your edit layers invisible and your background and then go to "layers" at the top of your screen and "merge visible" and it should only merge the layers of your pet like so.
|
|
|
|
|
|
|
|
|
|
|
|
|
|
|
|
|
|
Posted: Tue Jan 08, 2013 12:04 pm
Almost done with this part now ^^
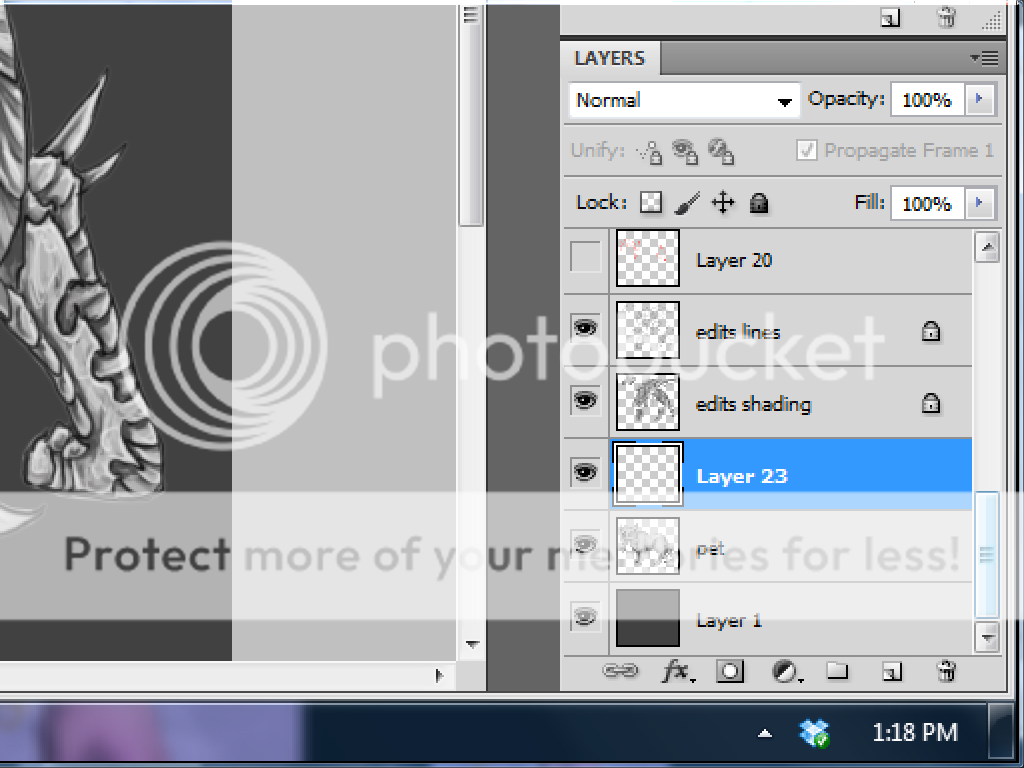
Create a new layer in between your pet and your Pet's edit layer. It will look something like the above picture. Make this layer a clipping mask with your pet.
Now pick your darkest color of your pet editing that you used to shade with. This is going to be your cast shading color. Put this color all around the edges of your edits lineart that overlaps onto your pet and you can see where I did it on the picture above. You can add in extra if you want elsewhere like I did under his chin and in his ears but for the most part you can keep it to just the edges of the lineart if you want. Object that are in the air like that of hanging beads, spikes, ect will cast a shadow at a distance than something that is clinging to a pet. You can see where with the pet's belt and earring I've done this.
Once you've smudged what you've needed to, you are done and its time to move on to coloring him.
|
|
|
|
|
|
|
|
|
|
|
|
|
|