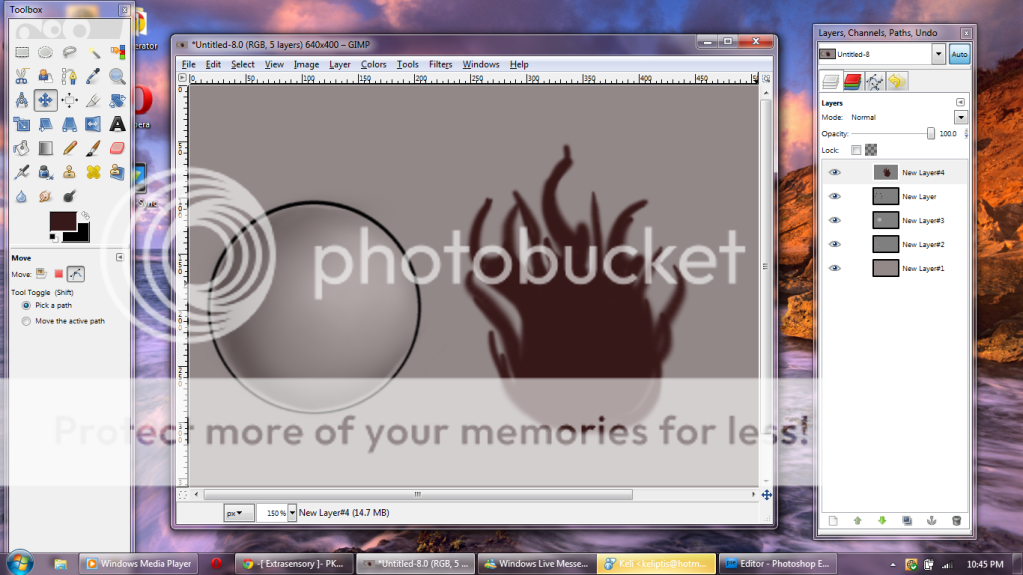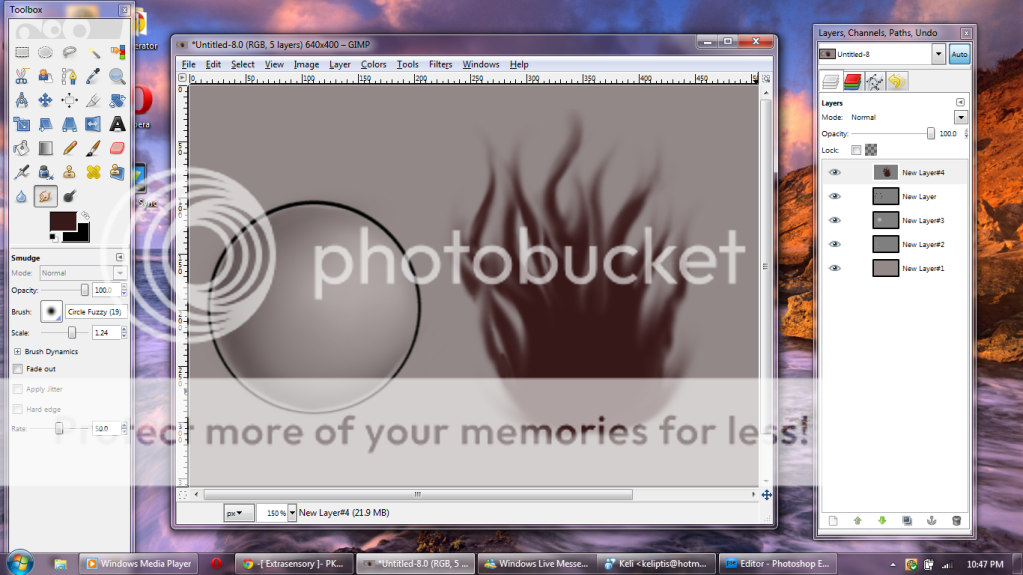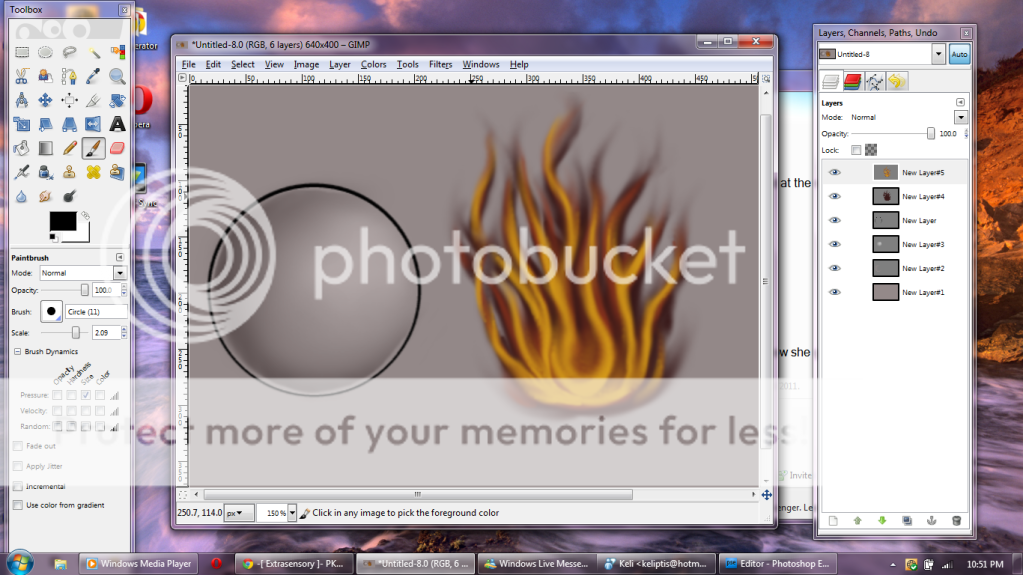
Last you need to add the highlights the flame creates on your pet or object. This is what that sphere I made was for.
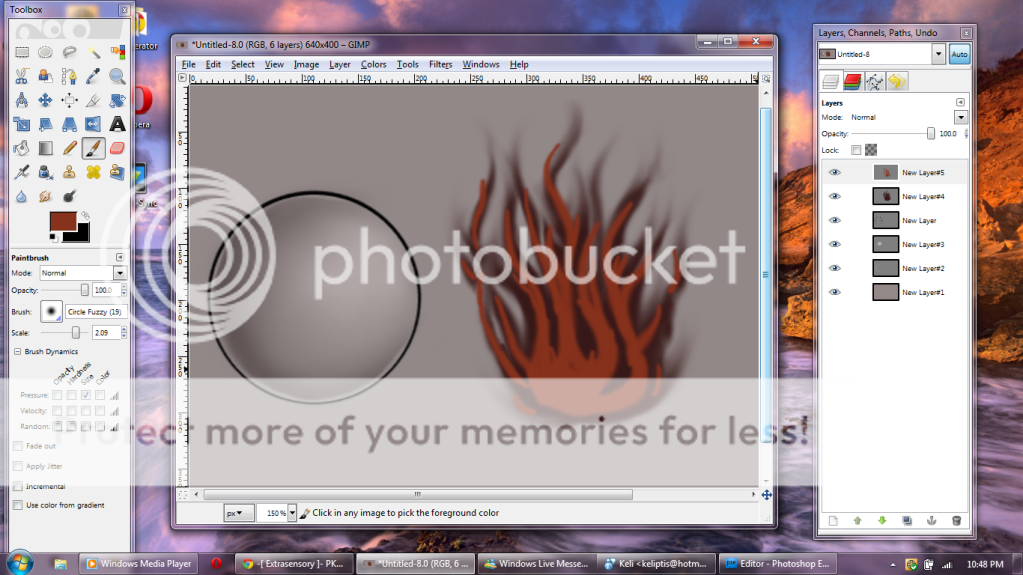
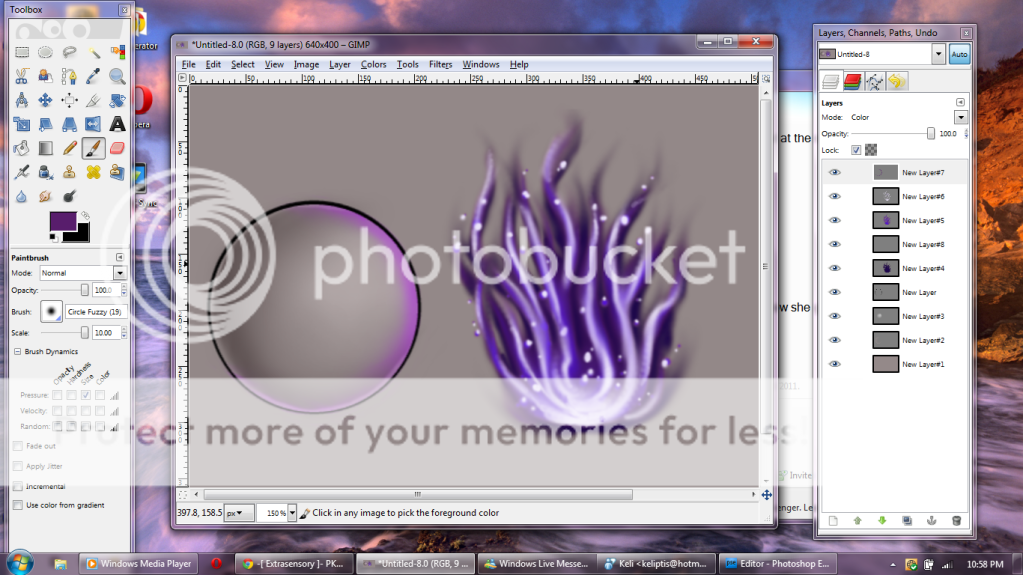
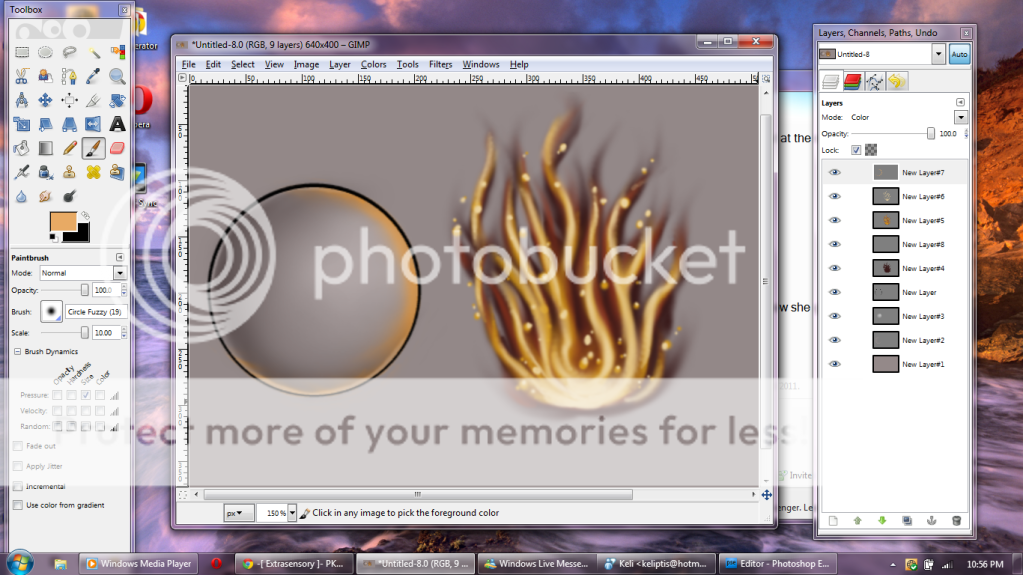
First create a new layer above all the layers and make it a "color" layer. In GIMP you don't have to be very careful with this layer being on the outside of you lineart but in photoshop you need to be. In GIMP multiply, overlay, and other layers do not show up on transparency but if you were to do this in photoshop it would make what is over transparency be turned into that of a "normal" layer.
Now we take a color that is of that of the flames or from a color that is around those colors. I chose a yellow orange for this and you are going to go along the edge of the lineart where the light from the fire will hit it. On a pet you would need to do this on everything but I'll make another tutorial showing that directly on a pet. This is just the basics.
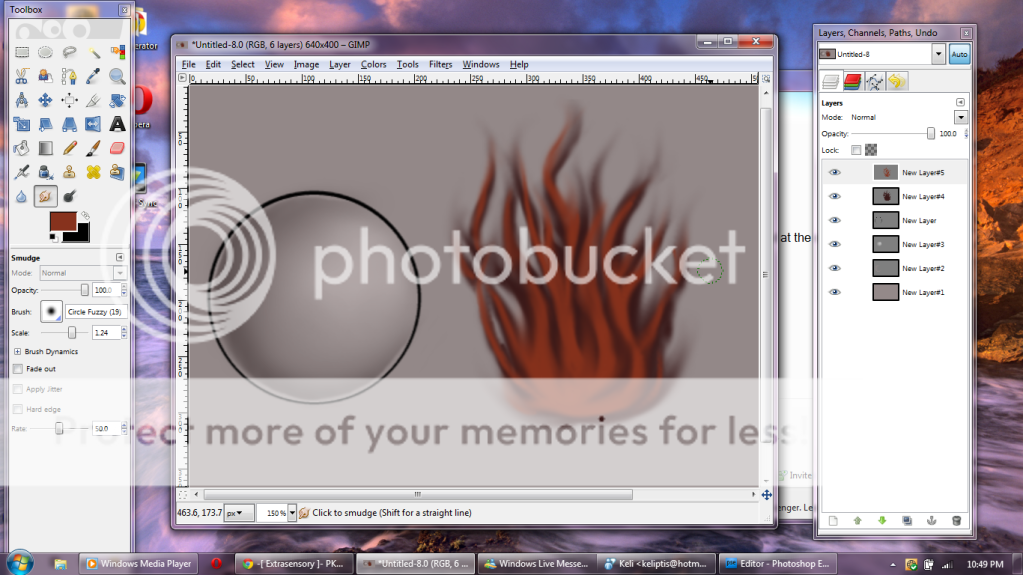
Once you have this color on the object or pet blocked in, smudge it a bit to make it less vibrant along the edges and change the opacity if it is too bright.