|
|
|
|
|
|
|
 Posted: Thu Sep 08, 2011 3:41 pm Posted: Thu Sep 08, 2011 3:41 pm
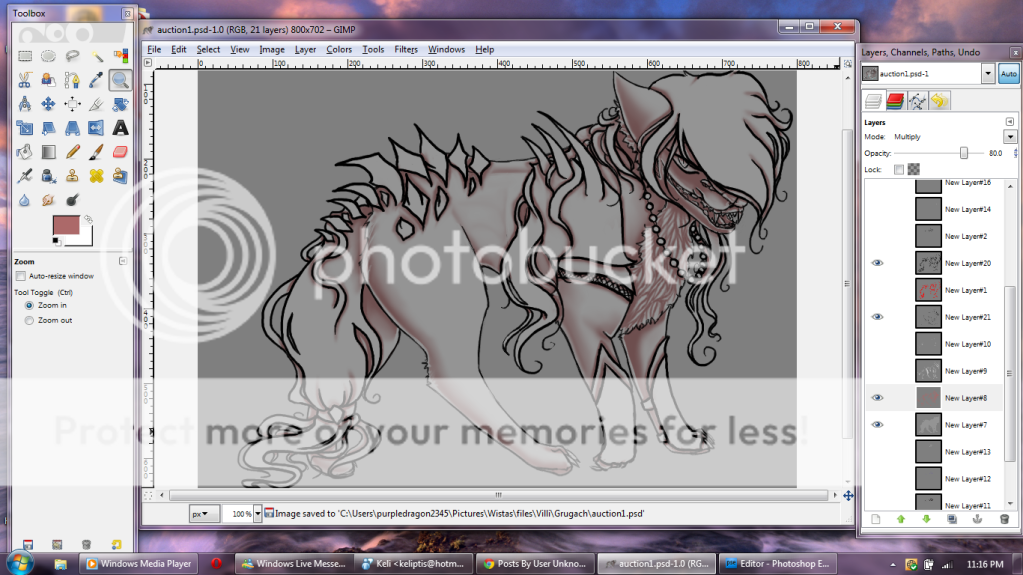
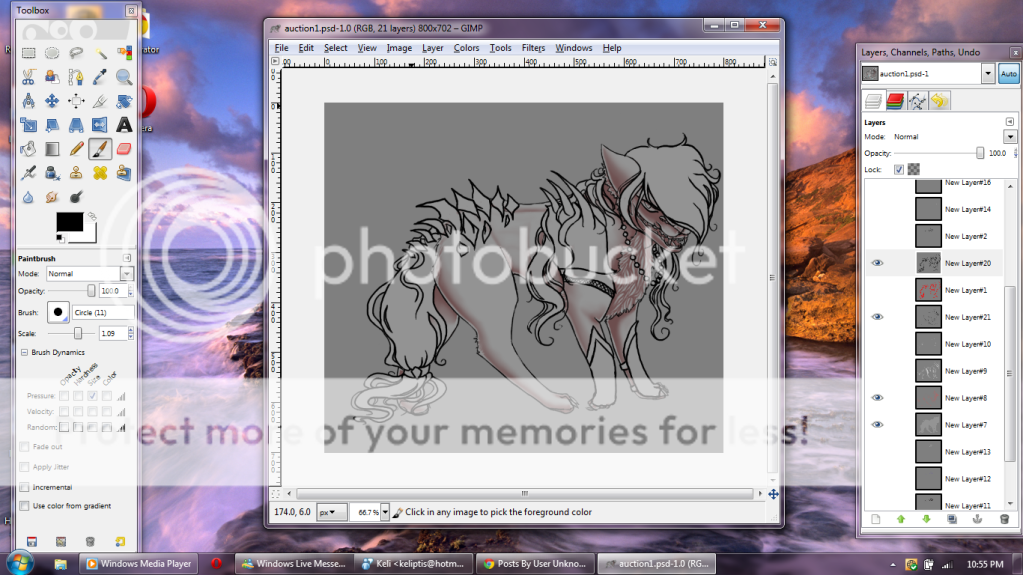 In this tutorial I'm gonna start off with this base. He has already had his edits inked and the base shading and highlights removed to where it is now time to add in the shading of this pet.
|
 |
|
|
|
|
|
|
|
|
|
|
|
|
|
Posted: Thu Sep 08, 2011 3:43 pm
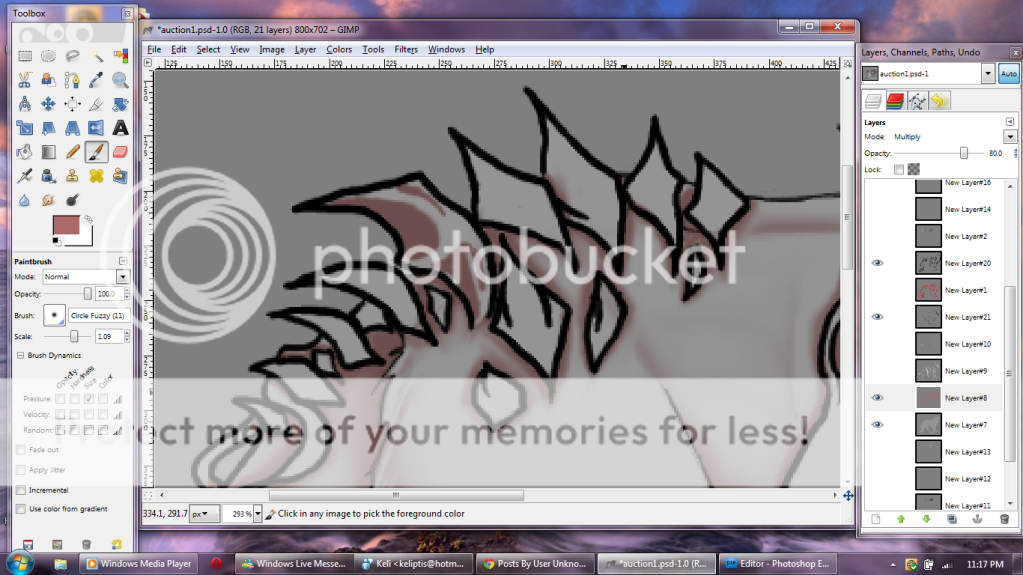
First I'm going to start off with the cast shadows of the edits. This is on the same layer of the original pet shading for me, but you can use a new layer if you wish.  This is how the image looks before I begin cast shadows.
|
|
|
|
|
|
|
|
|
|
|
|
|
|
|
|
|
|
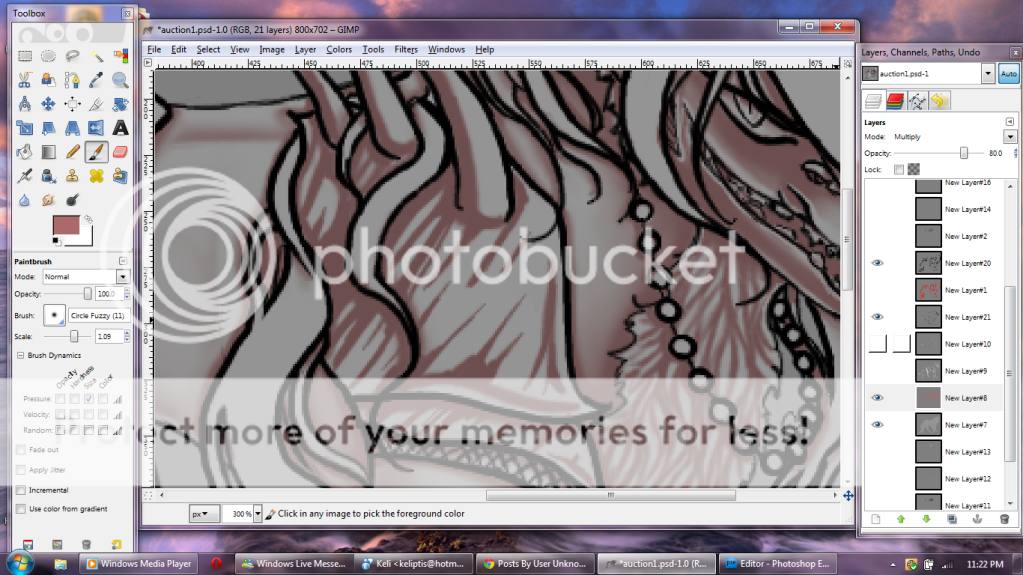
Posted: Thu Sep 08, 2011 3:45 pm
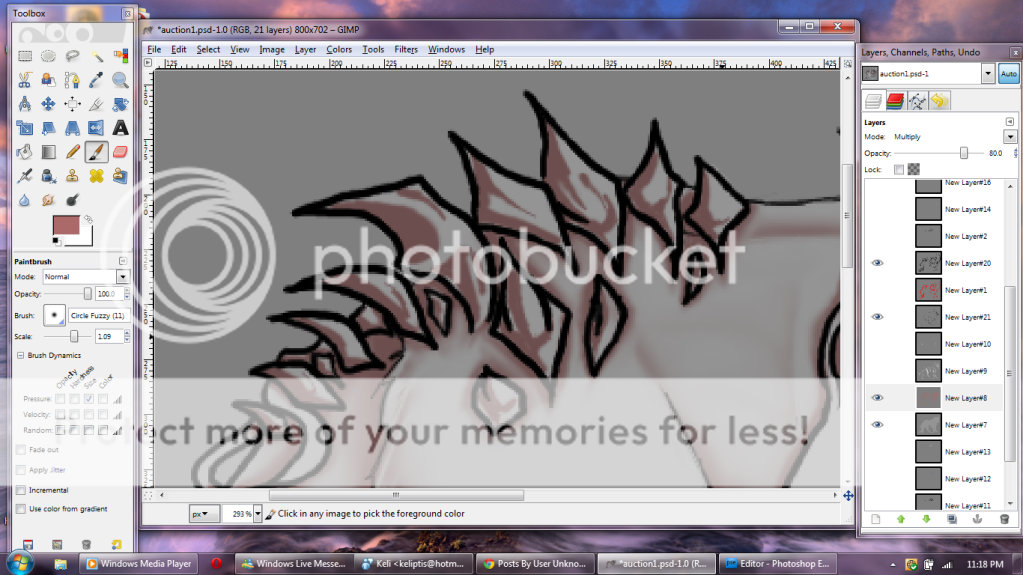
 Here's what it looks like after I finish casting the shadow along the edges of the lineart. I usually use a brown/reddish color when making shading templates. These are also "multiply" layers that I lock the transparency on when finished and I alter the color to suit whatever the coloring of the pet looks like. For example if you have a yellow pet, you don't want a gray or green color as shading. You would want an orange, red, or brown for shading or else it will be a nasty color.
|
|
|
|
|
|
|
|
|
|
|
|
|
|
|
Posted: Thu Sep 08, 2011 3:56 pm
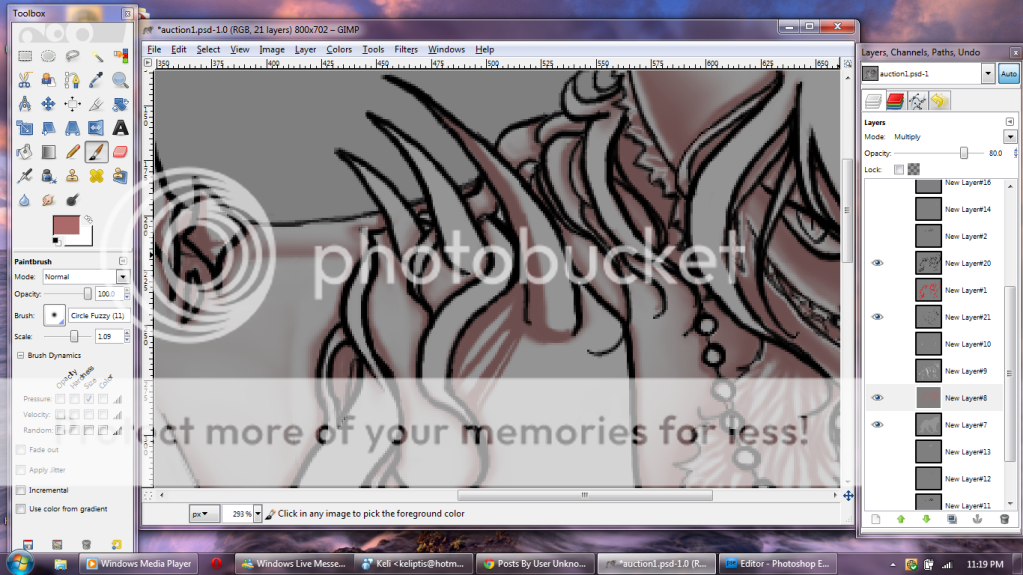
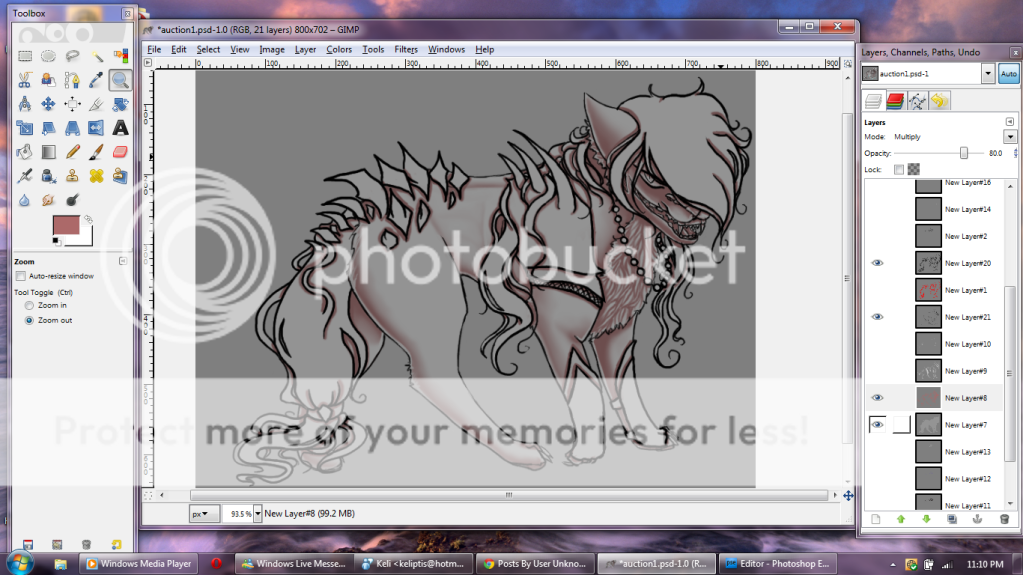 Here I've finished all the cast shadows of the line edits. Please note that at this point you are just filling in the shadows, it doesn't have to be perfect at all
|
|
|
|
|
|
|
|
|
|
|
|
|
|
|
|
|
|
Posted: Thu Sep 08, 2011 3:57 pm
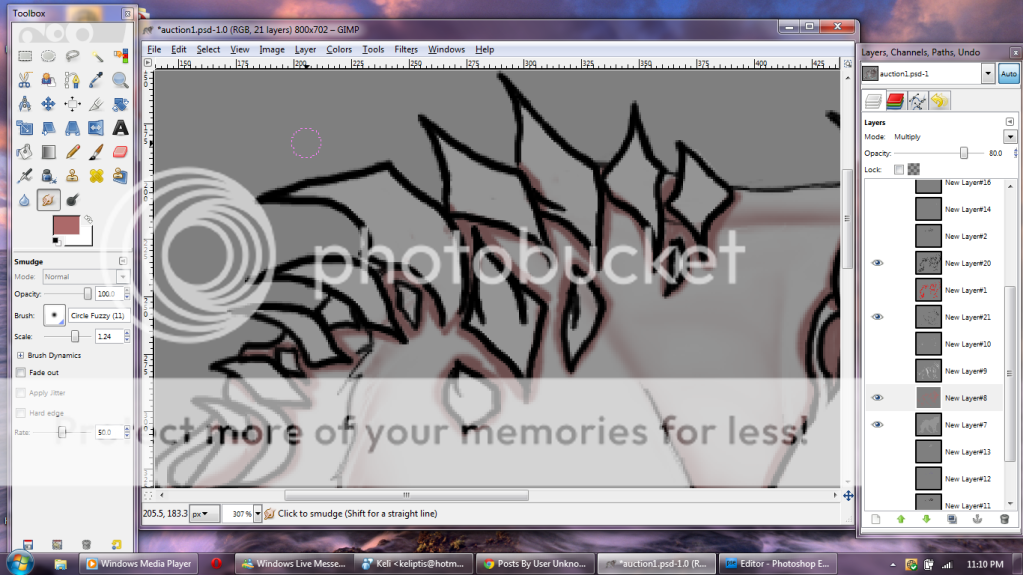 See up close its a bit messy and rather bold compared to what it should be, so now we will tone down the shading a little bit using the smudge tool
|
|
|
|
|
|
|
|
|
|
|
|
|
|
|
Posted: Thu Sep 08, 2011 3:58 pm
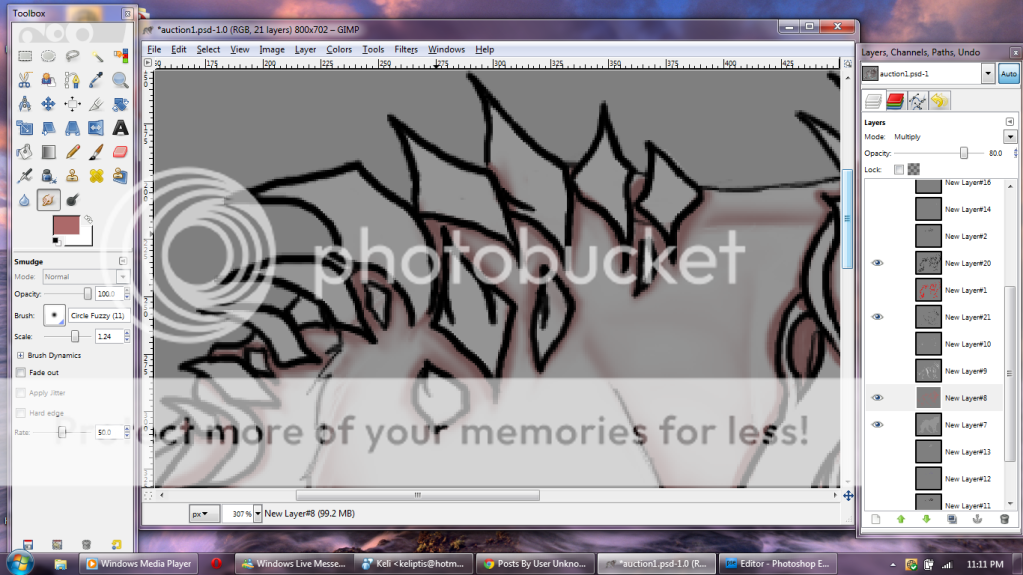 Smudge the edges of the shading until it blends into the pet. You may have to alter the rate at which your tool smudges if it smudges too hard and makes streaks instead of soft gradual smudging.
|
|
|
|
|
|
|
|
|
|
|
|
|
|
|
|
|
|
Posted: Thu Sep 08, 2011 3:59 pm
 And here I have completed the smudging of all my cast shadows and we will move on to the next step
|
|
|
|
|
|
|
|
|
|
|
|
|
|
|
Posted: Thu Sep 08, 2011 4:03 pm
 First I'm going to start with the jagged rocks on the back of this pet. Rocks are hard substances so you don't want to have the shading really soft. Make these lines more crisp and block in where your shading will go
|
|
|
|
|
|
|
|
|
|
|
|
|
|
|
|
|
|
Posted: Thu Sep 08, 2011 4:05 pm
 After you finish it should look something like this. Rocks are organic materials so no two rocks are the same, so make sure you don't have the same rock shading over and over again. If you aren't sure how to shade the rocks, I would suggest looking at other artists rocks and real rocks to see how they look. I just sort of guess where about the shading on one would be and go with that.
|
|
|
|
|
|
|
|
|
|
|
|
|
|
|
Posted: Thu Sep 08, 2011 4:08 pm
 Next I'm gonna work on the armor. Armor is a metal and depending on how shiny you want it will determine your shading. a very shiny metal like I'm about to make has lines through it representing how there are possibly the casting of reflections on it. I recommend studying metal marbles for this if you are unsure of how to proceed. What I do is I go around the edges of the metal object with the shading and then create lines across the surface, all moving the same direction. The lines in darker areas of the metal will reach all the way across the surface, while lines that will gradually go into a lighter area will break up and not be complete.
|
|
|
|
|
|
|
|
|
|
|
|
|
|
|
|
|
|
Posted: Thu Sep 08, 2011 4:11 pm
 Here is what it would look like completed. Notice the difference in the darkest areas of the armor and the lightest areas. Also, be sure that you are always shading the the direction the light is hitting it. if its coming from the top right like mine always have, then you will want it shaded in that way.
|
|
|
|
|
|
|
|
|
|
|
|
|
|
|
Posted: Thu Sep 08, 2011 4:13 pm
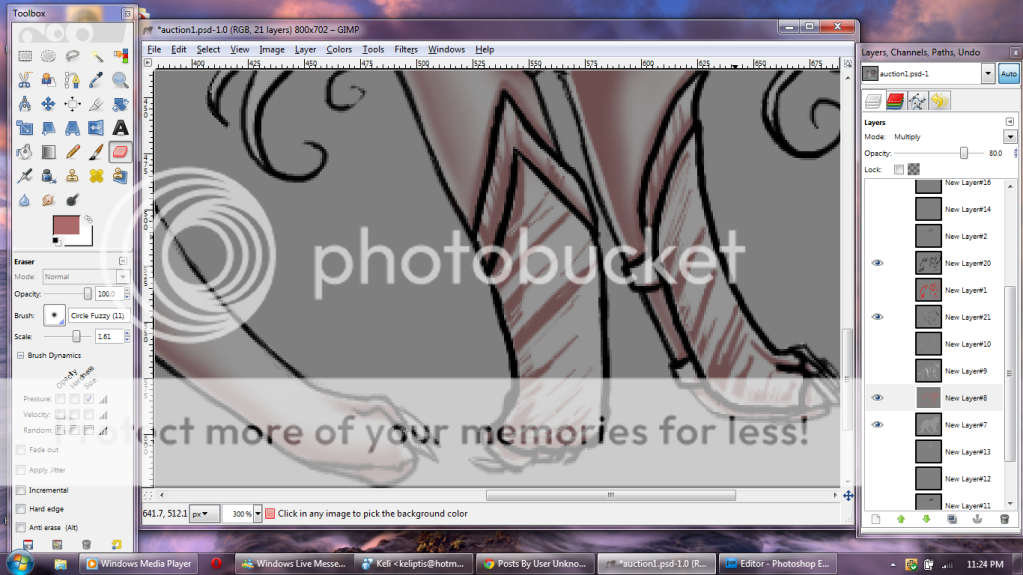 Here I did the same process to the armor around the legs, I even erased part of it along the edges since this armor isn't as shiny. Notice the shading is also messy. It'll all be fixed later
|
|
|
|
|
|
|
|
|
|
|
|
|
|
|
|
|
|
Posted: Thu Sep 08, 2011 4:14 pm
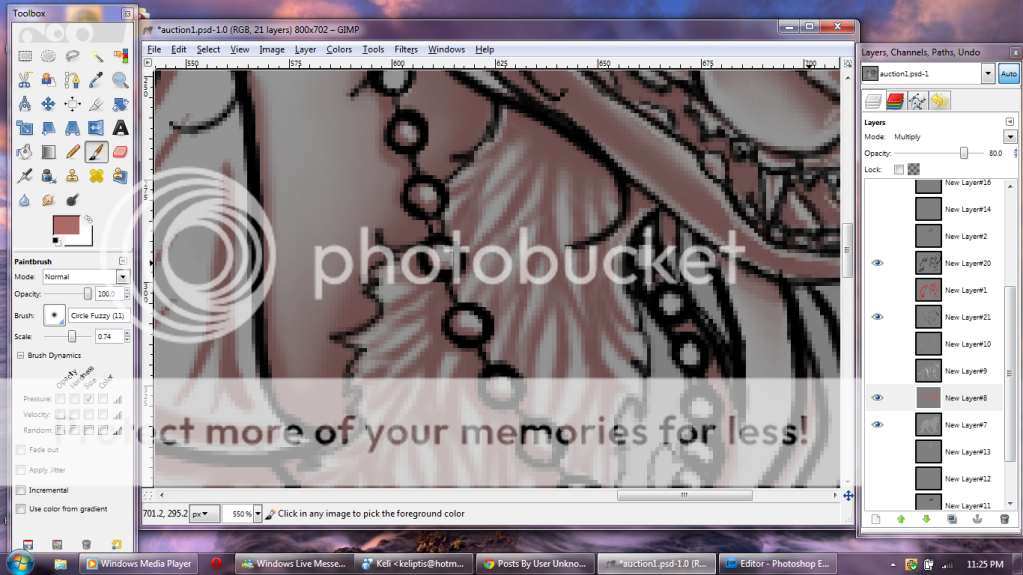 Next I did the beads. On round beads you are going to want to do a crescent moon shape along the side that is in shadow.
|
|
|
|
|
|
|
|
|
|
|
|
|
|
|
Posted: Thu Sep 08, 2011 4:15 pm
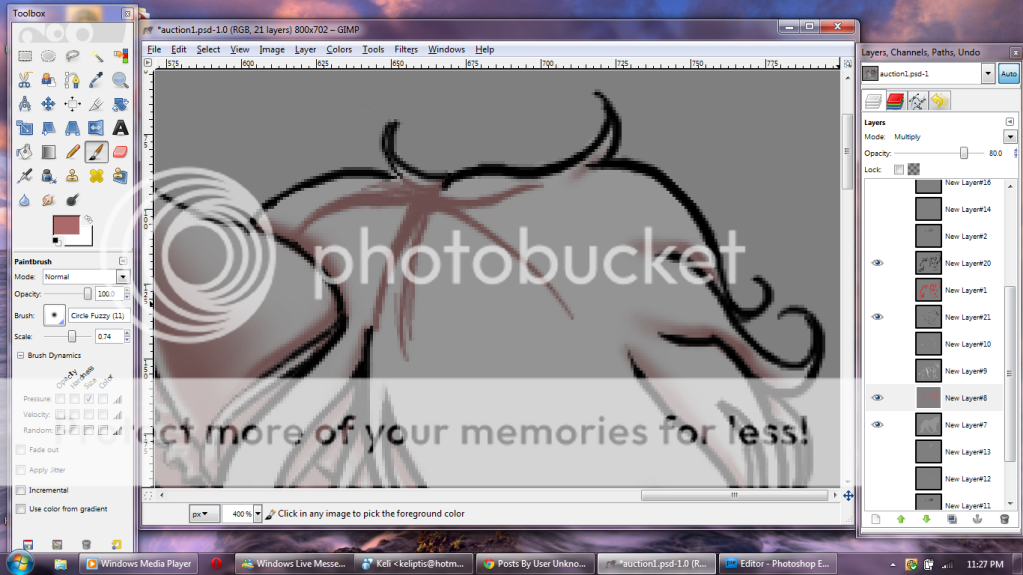 Next hair. Always start at the part first or if you have a tail, start at the base. It is MUCH easier to start this way. Start off by making the part if you are on the hair of the head and begin blocking in how you want the hair to fall
|
|
|
|
|
|
|
|
|
|
|
|
|
|
|
|
|
|
Posted: Thu Sep 08, 2011 4:17 pm
 next draw in strands, once again, starting at the part and working down. Do not make all the strands one size, one shape, and one length. Variations in length, size, and shape are important to creating hair. You also do not have to continue on toward the edge of the hair lineart since later you will be erasing shading along the edge. We'll get to that later
|
|
|
|
|
|
|
|
|
|
|
|
|
|