STEP 2: Stripes
You'll need four stripes; two for the sleeves, and two for the pants.
Using the black fabric you bought, (should be the same material as the hoodie) cut out four strips about 2-2.5 inches wide. The stripes for the sleeves should be long enough to start at your shoulder, and hang a few inches past your elbow. The two for the pants should be long enough to hang from your waist to the bottom of your pants. For me, it's about 15 inches and 30 inches, but if in doubt, go longer. It's always better to get too much fabric and cut some off than to not have enough.
Make sure that your stripes don't start at the ugly edge of the fabric, or it will show on the finished product.

I used a rotary cutter (DANGER! SHARP!) to cut my stripes, but a pair of scissors and a ruler will work just fine.
If you want, you can either hem the sides or embroider to edge your stripes, but I'm going to do an embroidered edge.
Hem:For this, you want to cut your stripes wider that the final width. if you want to make a 1/2 inch hem, you'll need to cut your stripes 3 inches: 1/2 inch for hem, 2 inch for final width, 1/2 inch for hem.
Fold the edge, up to how big your hem is (1/2 inch in my example) and pin it along the whole stripe. This is not my
video, but it'll give you the idea.
If you have a rolling hem foot, you can use that to hem your stripes. Be sure to test your fabric with the foot, sometimes certain fabrics curl with a rolling hem. *does not have a video for rolling hem, and is too lazy to make one.*
Once you have hemmed your stripes, pin them in place. Read on for specific details and follow the directions, paying special attention to notes with
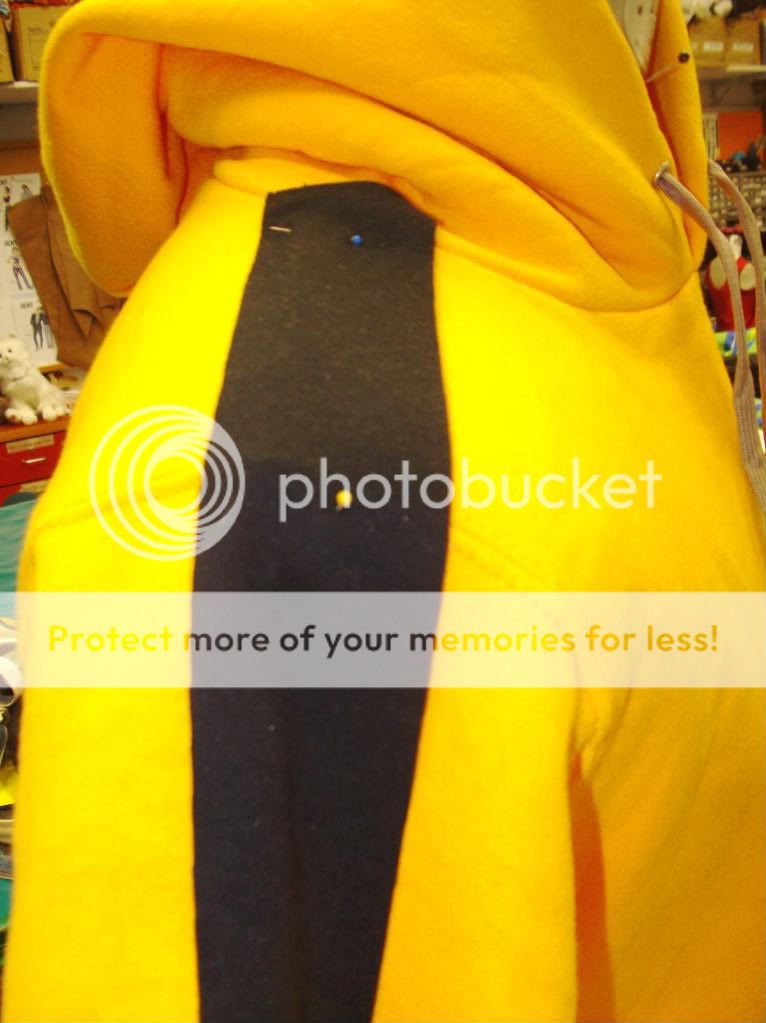
Hemmed: Embroidered:Cut your stripes to the exact width you want them. We're going to start with the hoodie. Pin them in place, leaving some extra where the hood meets the shoulder. Try it on to see if it's in the right location.

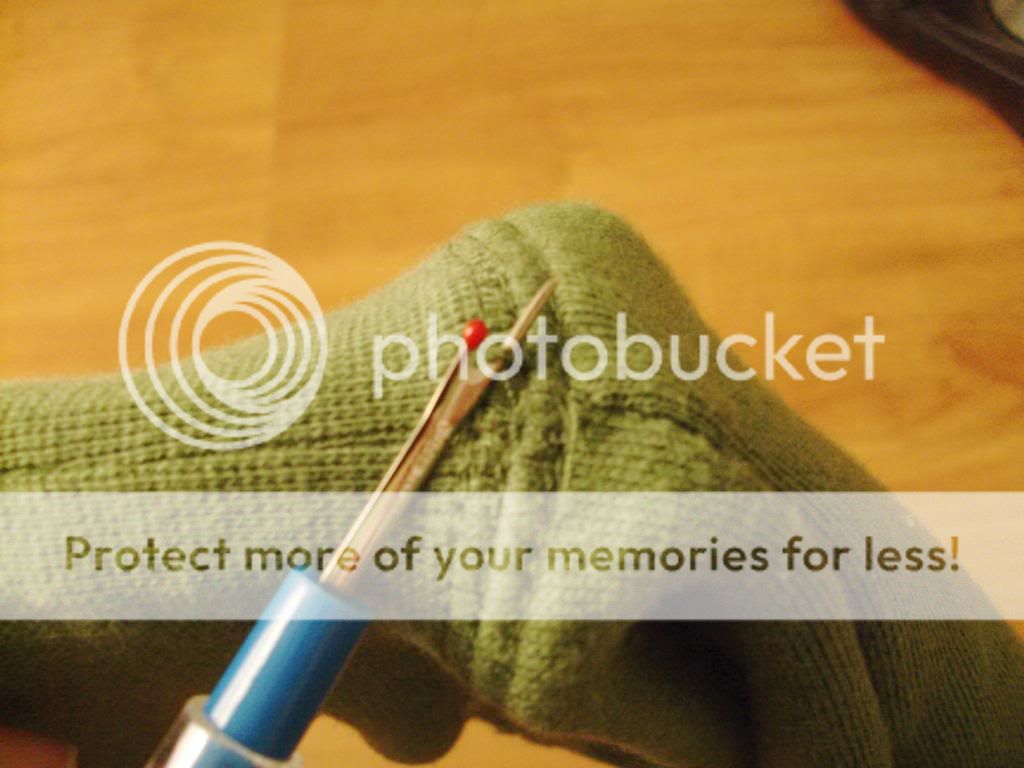
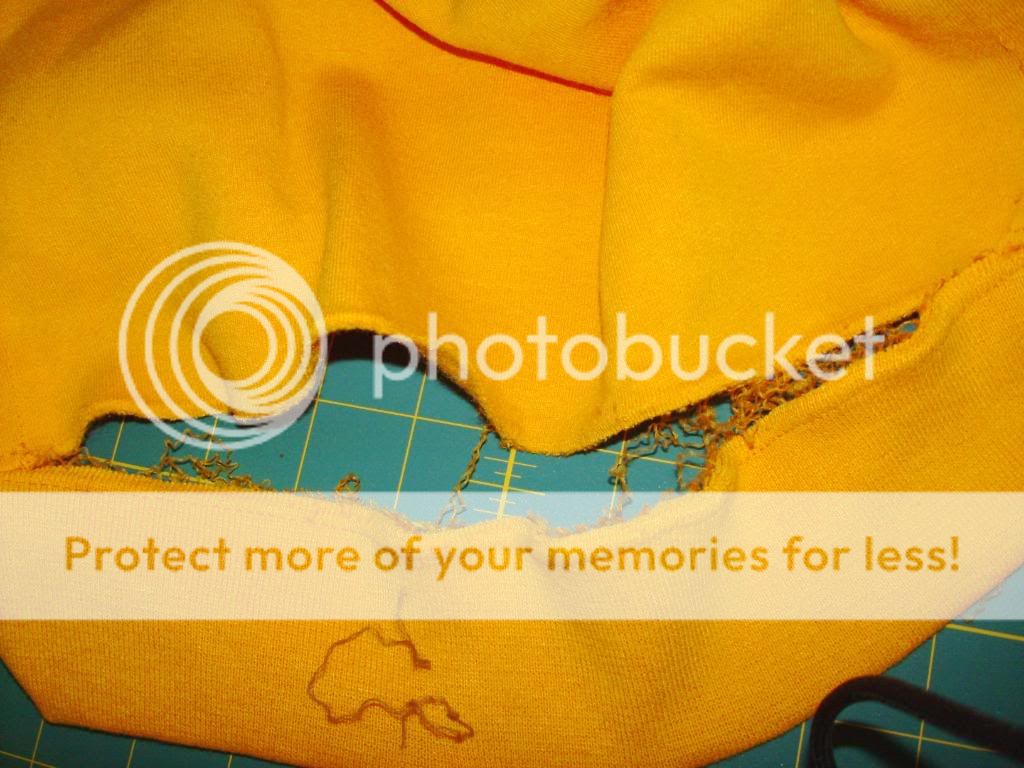
Using your seam ripper, open up just enough room between the shoulder and the hood to fit the stripe inside. You may also have to open up the sleeve entirely flat, in order to be able to sew the stripe.
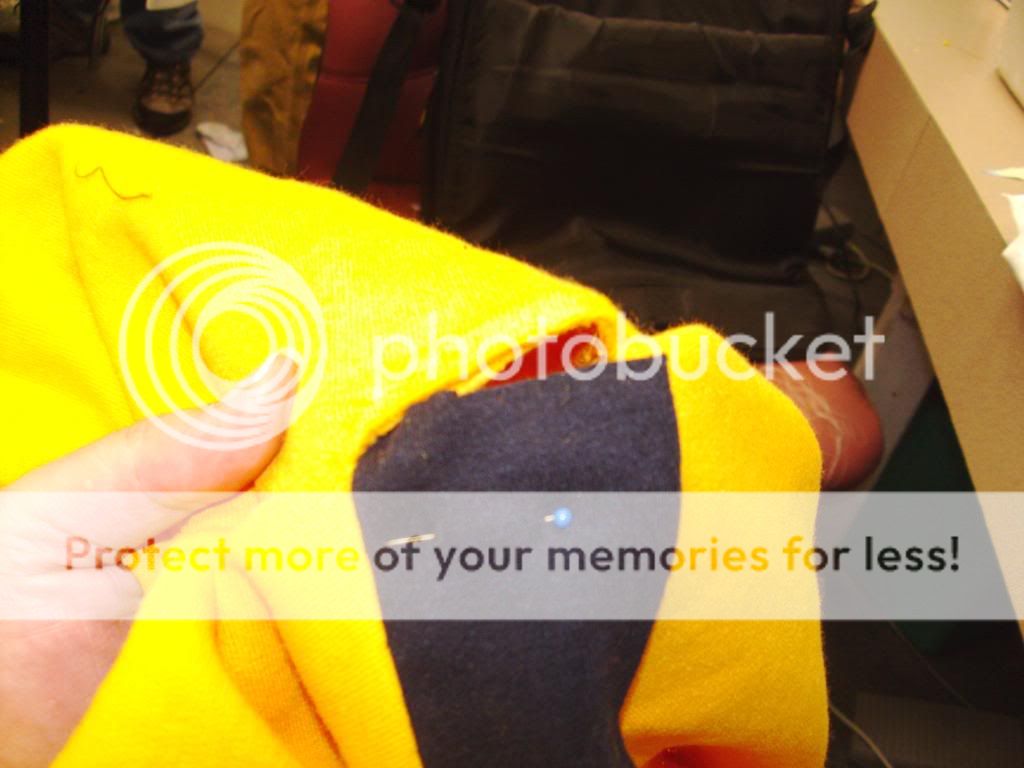
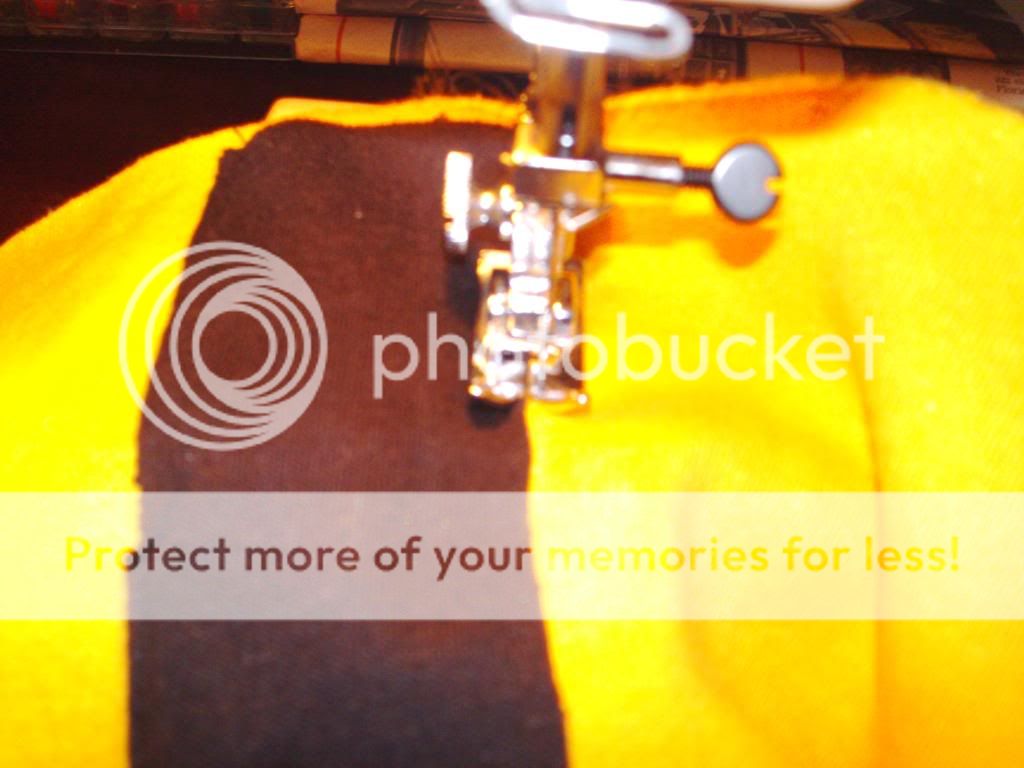
Baste the stripe on both sides, as close to the edge as possible. To baste, set your machine on the longest stitch length possible, usually 4. (
Hemmed: Stitch length 2-2 1/2. Once you attach it, you're done.)
Now to embroider. Set your machine to do the widest zig-zag stitch as possible, and the shortest stitch length that will put stitches directly next to each other, but not on top of each other. Use a scrap pice of fabric to test it out. Adjust the stitch length so you can see non of the fabric underneath.
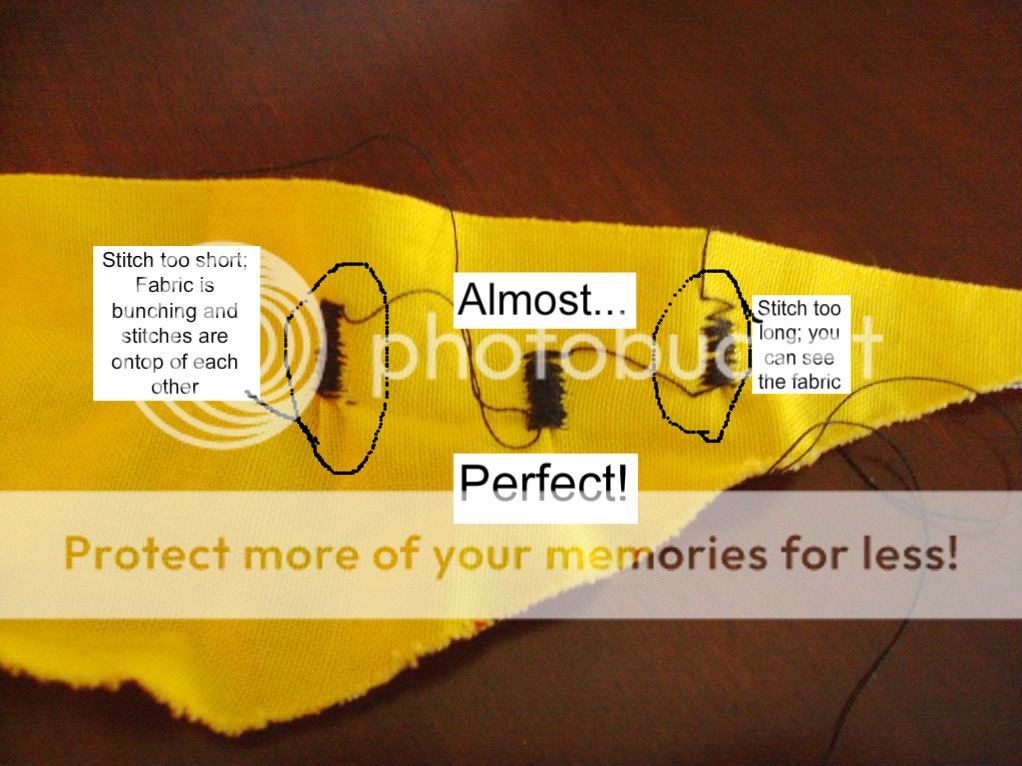
After you have the perfect setting, sew up the stripes, with the edge just in the middle of the stitch. make sure you're not accidently sewing your sleeve to itself, but ripping it flat should have solved this.
 Now to the pants...
Pretty much same as above. Hem your stripes if you're hemming, and pin them in place and try them on. Baste on the stripe if you're embroidering, or sew them on if you're hemming. Finally embroider if that's the way you roll.