I use Photoshop CS2 for my edits, but the basics are pretty much the same on every program. I'll also be assuming you know a little about Photoshop and how to use it. Feel free to ask questions though, if you don't. ^^; Also note I have a tablet... It's been awhile since I used only a mouse for one. @@
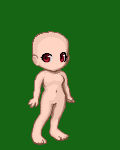
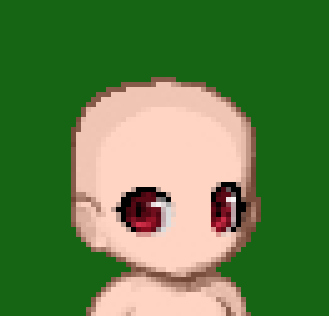
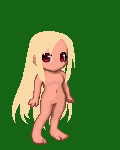
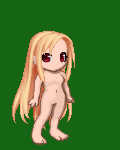
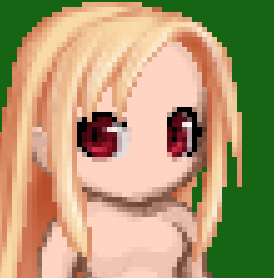
Okay so, start with the base you intend to use. I'd suggest doing the eyes first, or leaving a basic outline of where they will go, so the bangs don't cover them completely or look awkward with them. I'm using one of the basic gaian ones, with some custom eyes made just for this purpose, since the edit I'm doing has big eyes. XD
Get out your referance if you're using one. And you should be, unless it's a random hairstyle idea or whatnot. But if you're trying to edit Ichigo or Kagome or something, it certainly couldn't hurt.
For my edit, I'll be using Flonne, since she's got a nice long hairstyle and she's from a game I'm completely obsessed over.
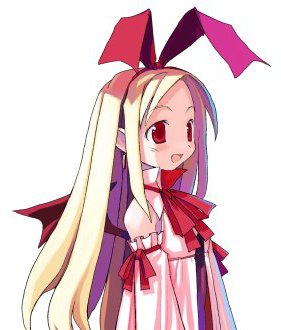
Good referances will generally be from the same or a close facial view as the edit you're doing, with little interferance and decent size. If you're doing a normal edit, you may want to stay away from that pretty wind-blown referance. ^^
Also, notice how I've cut out the white background and replaced it with that dark green color? This is so that I can judge how the color and shading's coming out better. If you were to do it on the white background, your edit may end up really light, or lacking in shading. To do this on Photoshop, simply double click the layer in question and click okay to get rid of the lock keeping it below all your other layers. Make a new layer, and drag it beneath the first, then fill it in with the color of choice. It should directly contrast the hair color you're going to be using. Now go back to the first layer, and use the wand tool to select all the white background. Go to Edit>Clear and now it's gone! Having your base on it's own layer is especially a good idea for those long haired edits, so you don't end up having to build said hair around your clothing. Also, you may want to invert your BG color every once in awhile, to catch any weirdness the other color may be hiding.
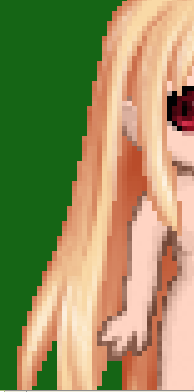
I always start with the bangs, but really it's up to you. You'll want to zoom in real close to block them in. How close usually depends on how big the bangs in question are, but 500-600% is generally a good area. Play around a little to find what works best.
Make a new layer above your base, and choose the a base color for the hair. Generally it'll be a midtone between your highlights and your shading. For Flonne, I'll be using the eyedropping tool on my referance to get it as close to the original as possible.
Now use the pencil tool, and start blocking in the hair, keeping in mind where the part is to start your strokes. Not all of the initial lines will be perfect, so select and clear the errant pixels to make your outlines curve properly.


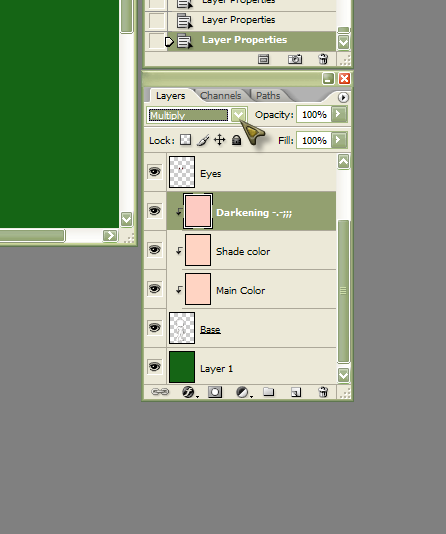
My base color here is awefully similear to her skin color, so it's going to be a headache to continue editing like that! There's many ways it can be fixed for the sake of one's eyes, but since I want to continue using the same color, I'll just add a Clipping mask to the base to darken it. One can always delete it later. ^^; Clipping masks can be created by simply making a new layer above the one you want them to follow and right clicking, then selecting 'Create Clipping Mask'. These Masks are useful in that they go over any non-transparent areas in the layer they're masking, but not outside them. Nor do they actually edit said layer permenantly, so it's useful for a ton of things.
For this, I just filled in said mask with another color and changed the layer to 'Multiply'.
Gaian Avis generally have a vaguely 'chibi' set of porportions, so not everything about your referance needs to match up perfectly with your edit. You'll generally want to color completely over the head to match said porportions. I usually do this on my bangs layer.
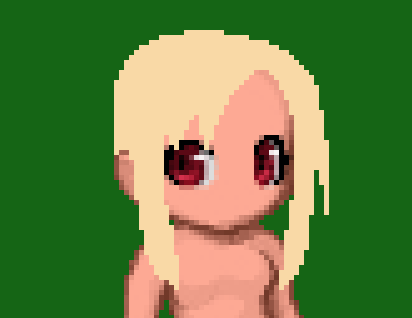
And since Flonne's hair is designed in such a manner that it goes over the ears and her hair ribbon, I'll be making yet another layer on top for the front/back of her hair. Again it's going to be the same color, but I'll need the inital bangs to referance for it. So I'll lower the transparency on those to 50%
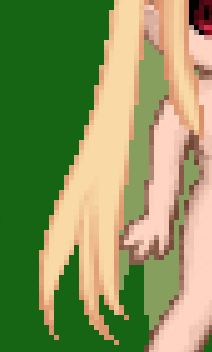
For long hair like this, you'll want to zoom out more to get a better scope on the thing as a whole. I'll be using 300% mainly, but zooming in and out occasionally to make sure it's right.
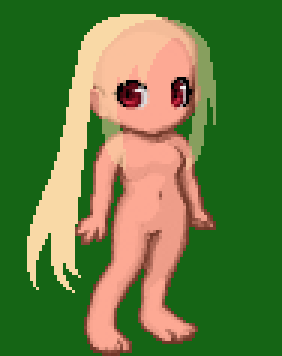
Now go ahead and block out the back layer, doing everything that's going to go behind the body and clothes.Make sure you're doing it on a layer below your base layer. If you're going to resell the style in a shop, you'll probably want to block out the shapes behind the body too, to make the style more versital when it comes to other body bases. Again it's up to you. I usually don't, because my shading probably won't work with a mix and match base anyway. XP Again, a 50% transparency on other converging hair base layers helps differenciate what I'm doing.
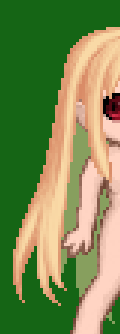
Now that we're done blocking out the base color, we'll want to start shading it. For my shading, I pick a darker shade of the same color, stick a clipping mask to the base one and use the brush tool at a 1px size. This keeps the shading generally sharp. I always start on the bangs too.
While shading, you'll also want to somewhat darken all the edges of the hair, to go more with the Gaian look.
Start by shading in the outlines, then follow the tips and work it from there. Pay attention to where your light source is!

Since the hair now had edges, I was able to take off that darkening layer from earlier, since I no longer need it. And yes, it will need still a little more shading than that. But first, head to the other layers and give them a first coat too. X3
Time to check it on the inverted BG! Just to make sure the edges on the hair seem dark enough.
Now for this I'll be popping on a second layer of shading. Not all hairstyles need or really should have one, but since Flonne's got a lot of hair, the extra detail should be nice. ^^ It's not a copy of the previous area, just an extension of detail. The color I'll be using is the same, but the new layer will be on top of the others, and set to multiply.
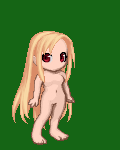
Now for one of my favorite parts; The highlights! With bright hair like Flonne's they're gonna be plain white, but darker colors may call for a simply lighter tint of the same color. Like shading, pay attention to your light source, and use that 1px brush to stroke in the areas where the light would hit most.

And that's pretty much it. Just keep messing with it until you get it looking right. And keep your layers so you can tweak it later, should the clothing and such change the way it should look.
Thanks for reading my tutorial. I hope it helps!