|
|
|
|
|
|
|
|
|
 Posted: Sat Jul 12, 2014 10:40 am Posted: Sat Jul 12, 2014 10:40 am
 |
|
|
 |
There are some really awesome thermo-plastics on the market right now. They can be molded to make a wide range of props, from wings to armor to jewelry to weapons.
Thermo-plastics tend to be very light-weight and can be pretty durable, so its perfect for a con setting.
The main thermo-plastics that I've seen used are craft foam, Worbla, Wonderflex, Friendly Plastic, and Fosshape.
Craft foam is the easiest to come by, as most general craft stores carry it. It is also one of the most inexpensive thermo-plastics on the market. It is also smooth on both sides, so you don't have to worry about treating or sanding down one side versus another. The downside to craft foam is that it takes a lot more prep time and patience to stiffen, and requires a sealer to paint over it.
Worbla is a thermo-plastic I started playing with this year, and I LOVE it! It can be ordered in large sheets. It has a shiny side and a matte side. The shiny side is a "glue side", which can be used to stick layers of Worbla together. My Worbla broach that I made for my General Cross cosplay had five layers of Worbla stuck together in this fashion. It can be molded using almost any heat source, though I found a heat gun or my stove (using tongs to hold the Worbla above the heat) worked best. When it is heated, Worbla can stretch to make curves, so it works well for armor pieces. However, it is also somewhat flimsy, and without a solid back to mold to, it can easily become bumpy.
Wonderflex is similar to Worbla, in that it can be heated using the same heat sources and molded into shapes. It, too, can be adhered together without glue. It works well for base pieces, but doesn't handle curves very well. Without a stiff mold to work off of, it can also become bumpy.
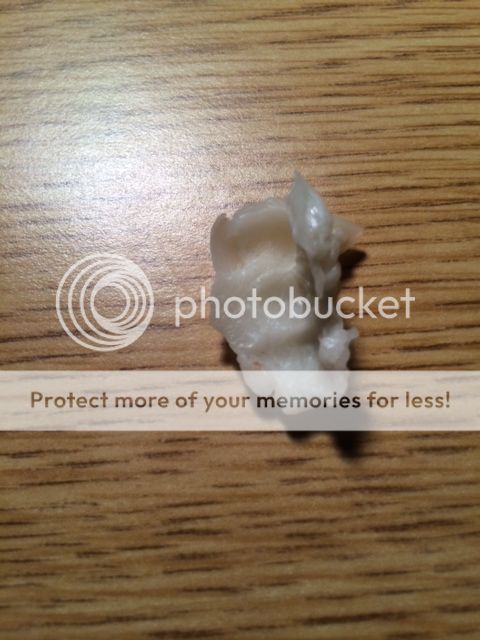
Friendly Plastic comes in a bottle full of small balls of thermoplastic. You can melt these balls down using hot water, and then mold it into various shapes. It is commonly used to seal Wonderflex or Worbla creations, giving it a uniform look. I've also used it to mold to my teeth to hold my fangs in place without tooth glue or another similar product..
One of the biggest tips that I can give in regards to thermo-plastics is that if you are going to have to leave your creations in a car for extended periods of time, be sure to put them in a cooler. My Worbla gun melted last Fanime because it got too hot in the car. T-T
My favorite retailer for these plastics is Cosplay Supplies. They have some good tutorials on their site, and I will be posting more tutorials below.
|
|
|
|
|
|
 |
|
|
|
|
|
|
|
|
|
|
|
|
|
|
Posted: Sat Jul 12, 2014 11:03 am
|
|
|
|
|
|
|
|
|
|
|
|
|
Posted: Sat Jul 12, 2014 11:30 am
|
|
|
|
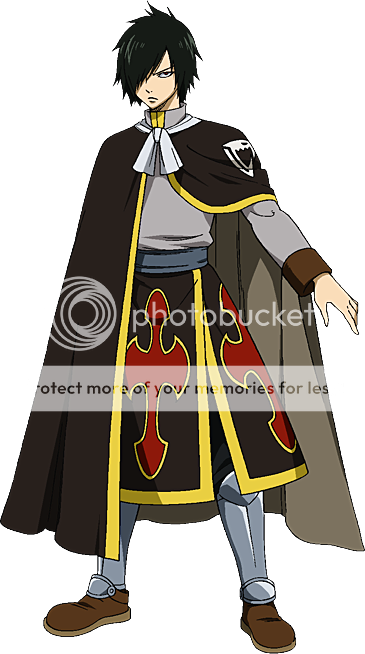
Worbla is a very versitile thermo-plastic that can be used to make a wide range of props and armor. For this example I am going to describe how I made my leg armor for Rogue.
When using Worbla (and pretty much all thermo-plastics), you'll want to first cut out a pattern for the thing you're going to make. I usually use a stiff craft paper, but a lot of people also use craft foam.
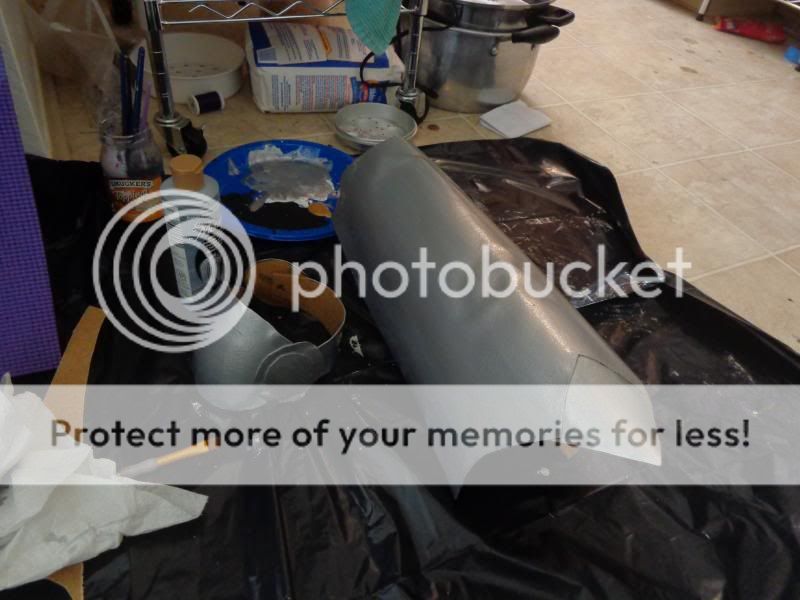
After cutting out your pieces, you can start molding them. I've used both my stove top and my heat gun to do this. The stove is good for heating large surface areas whereas the heat gun works well for detailed molding or molding small pieces of Worbla.
With your pieces molded, what happens next will depend greatly upon what you are making. I made my leg armor pieces in two parts: The base and the ankle piece. With my pieces heated, I attached my pieces together, shiny sides facing each other.
Before attaching my ankle piece and base piece together, I painted my Worbla. This took about four coats of paint, and then a sealant. Before I sealed my work, I took a darker paint and created a weathered look around my seams. When I need to remake these, I'll probably use a gesso base before painting my color coats on.
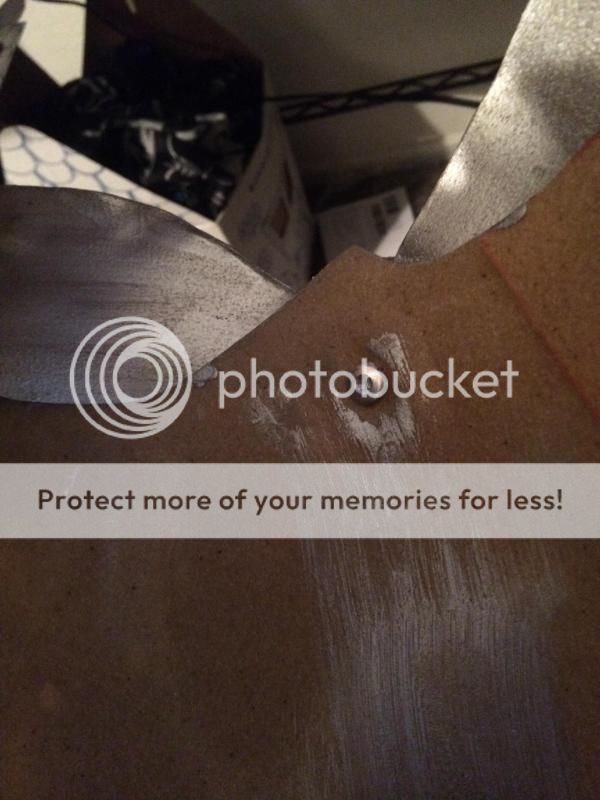
To attach the ankle piece and base piece together, I drilled a hole through both pieces and inserted a rivet, allowing my ankle piece to move with me as I walked.
And here was the end result!
You can get really creative with Worbla, making everything from guns to detailed armor.
|
|
|
|
|
|
|
|
|
|
|
|
|
|
|
|
|
|
|
|
|
|
|
|
|
|
|
|
|
|
|
|
|
|
|
|
|
|
|
|
|
|
|
|
|
|
|
|
|
|
|
|
Posted: Tue Dec 30, 2014 9:51 pm
|
|
|
|
|
|
|
|
|
|
|
|
|
|
|
|
|
|
|
|
|
|
|


 [/apoiler]