This tutorial is for use with "Paint.NET" version 2.64. It is a free download for Windows platform PC's, but requires ".NET Framework", which is also a free download.
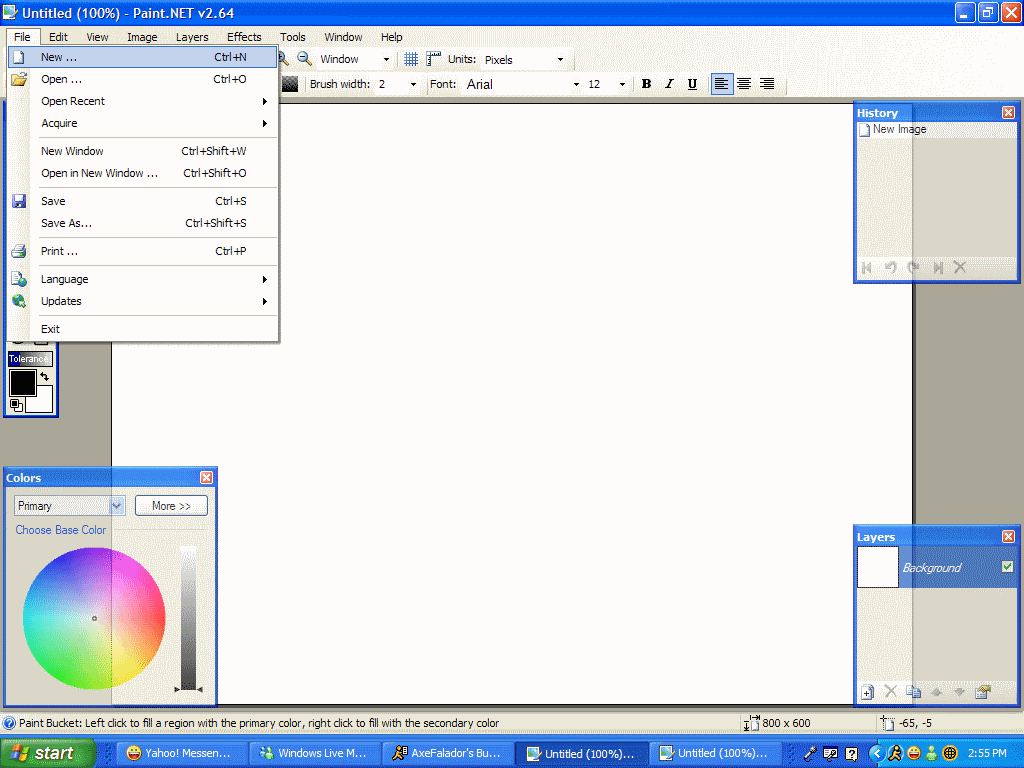
Step 1 -
Make a new file, and choose your pixel size. I chose 640x480.
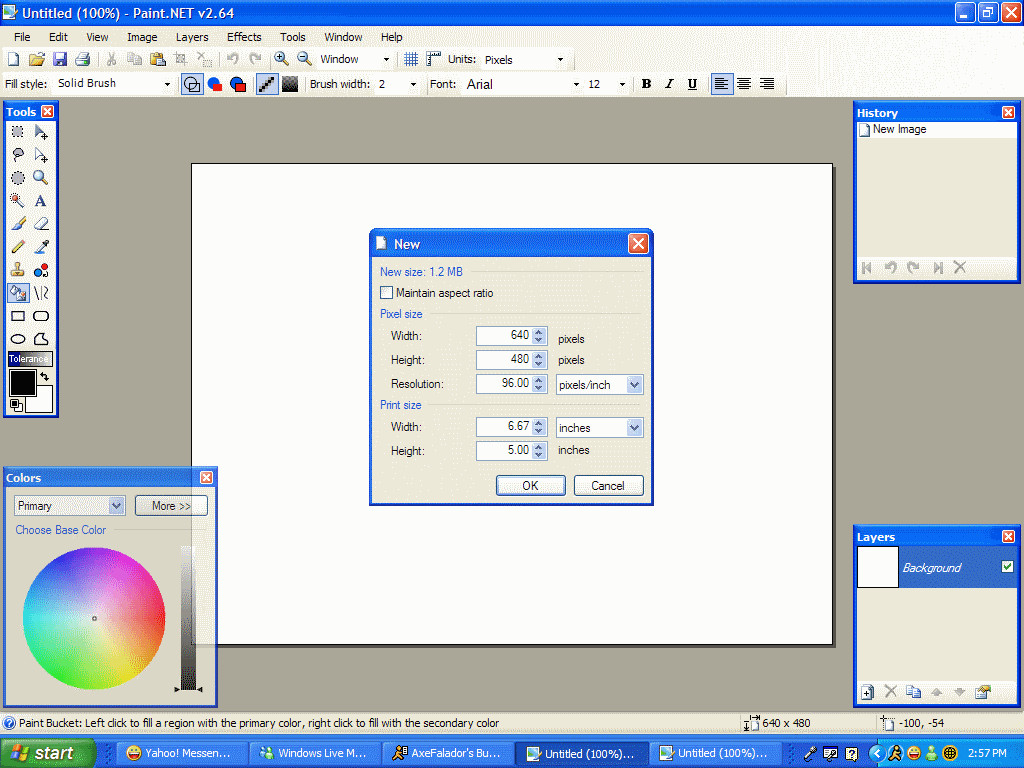
Step 2-
Choose the Paint bucket/Fill tool, and choose pure black as your colour, and fill in the entire canvas with pure black.
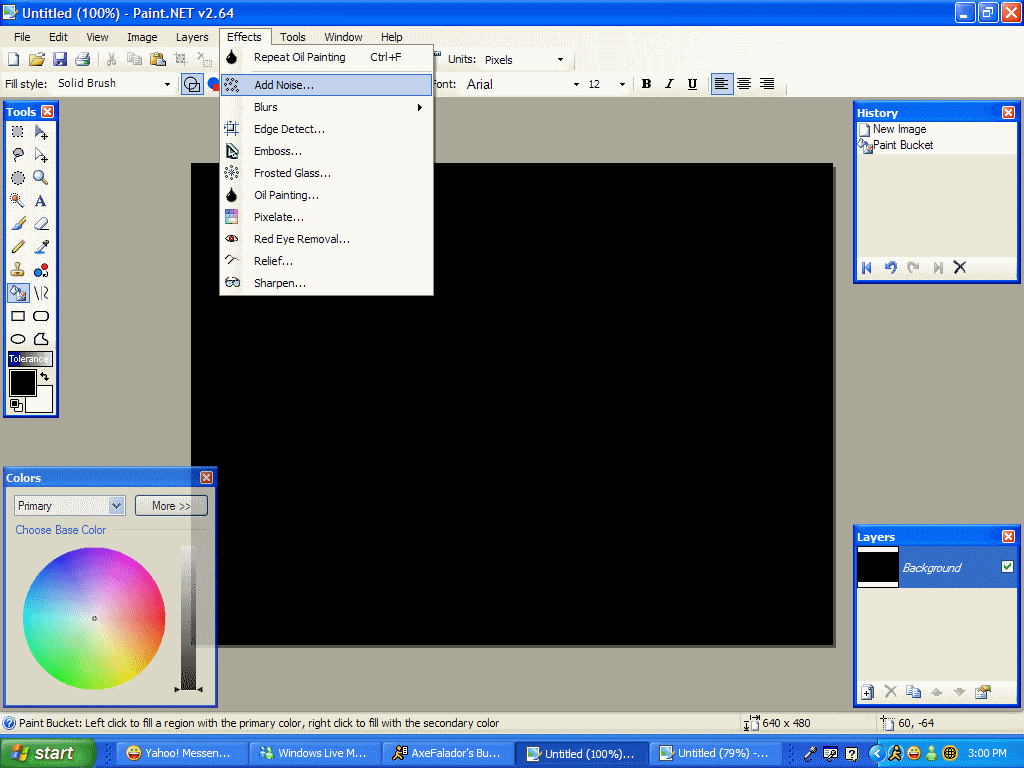
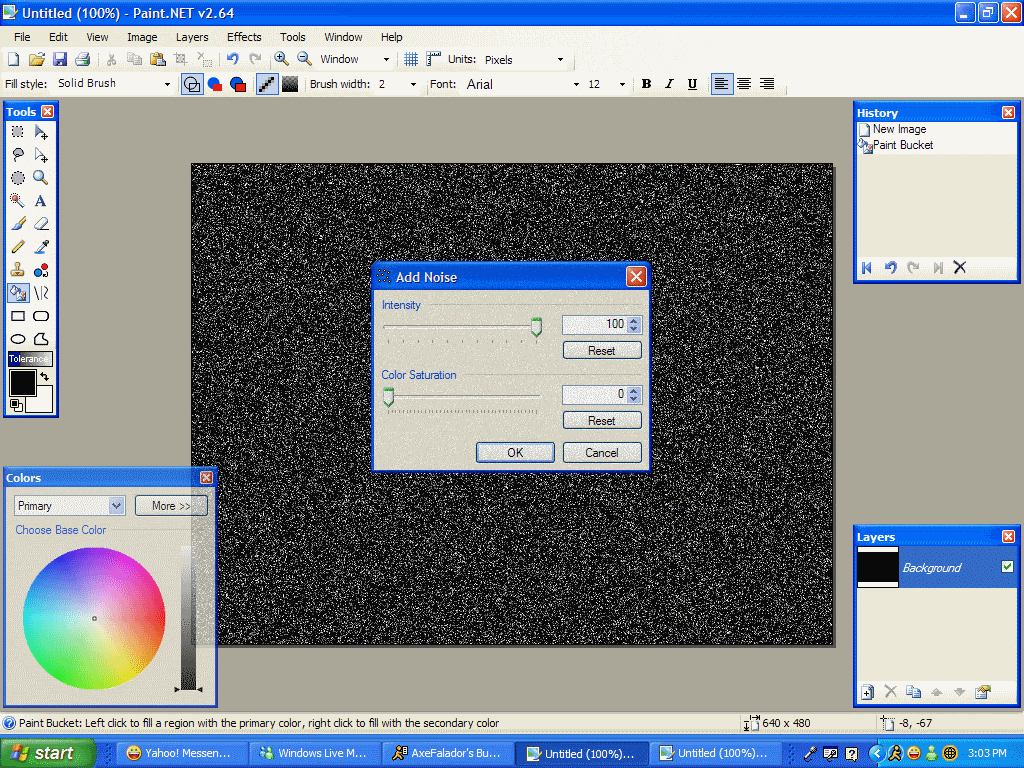
Step 3-
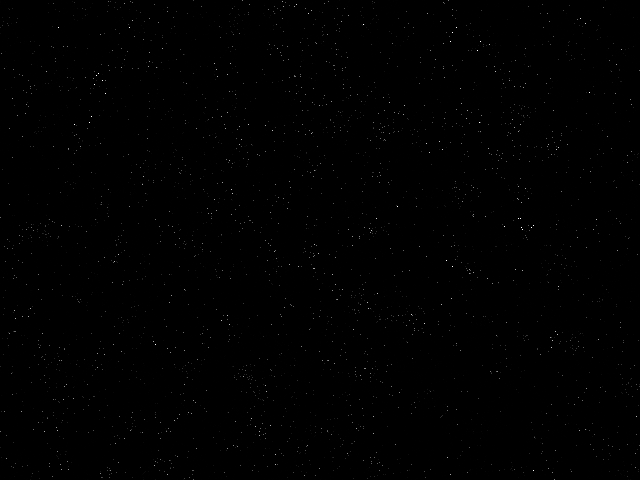
At the top menu bar, choose "Effects" -> "Add Noise". In the pop-up box, set the intensity to 100, and the colour saturation to 0. Unless you want a little colour in your stars; in that case, go ahead and experiment with the colour saturation until you're satisfied. Click
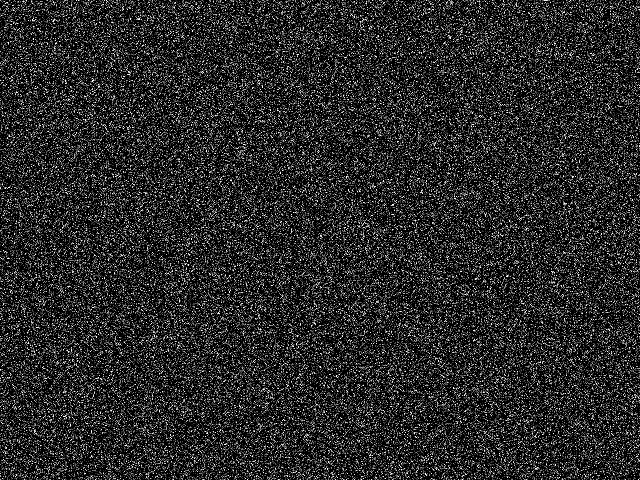
You should have something like this:
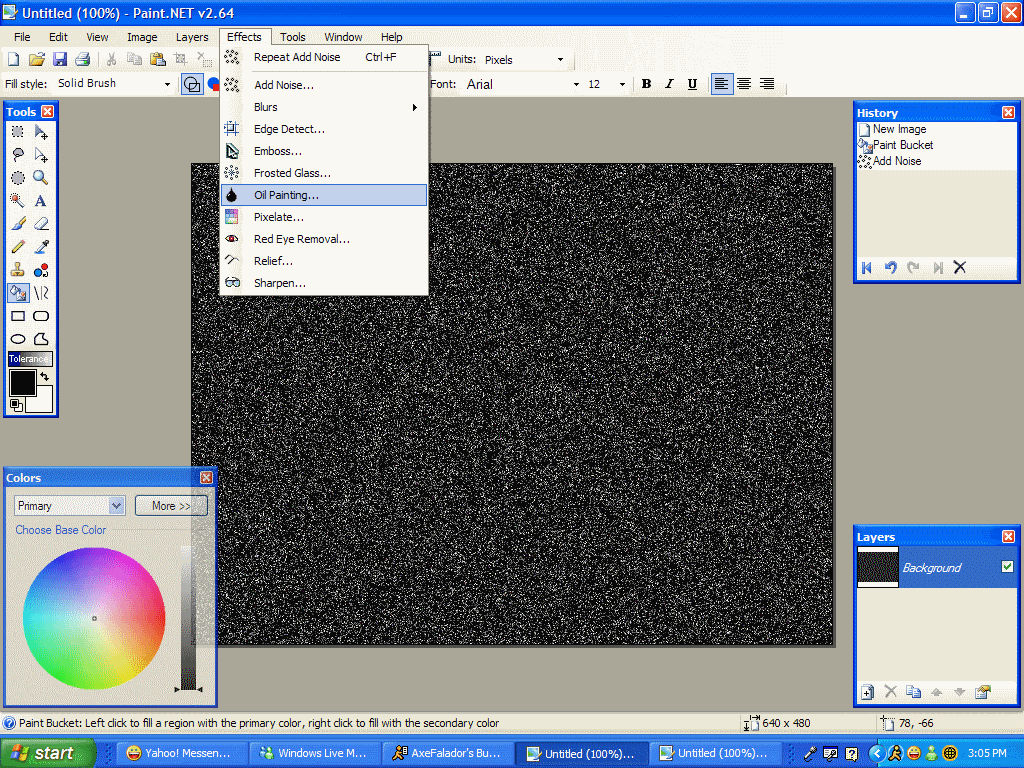
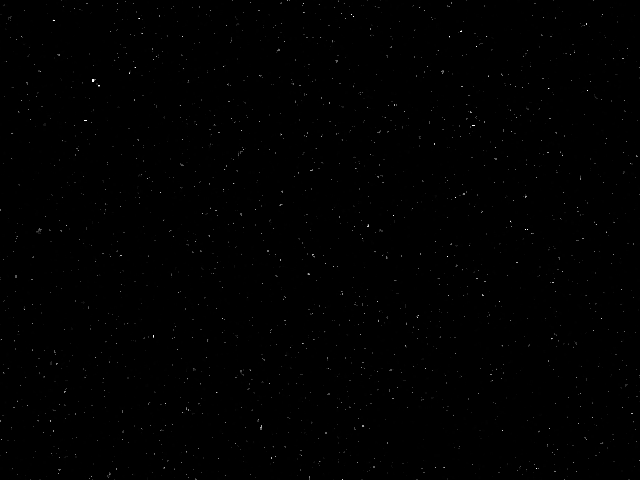
Step 4-
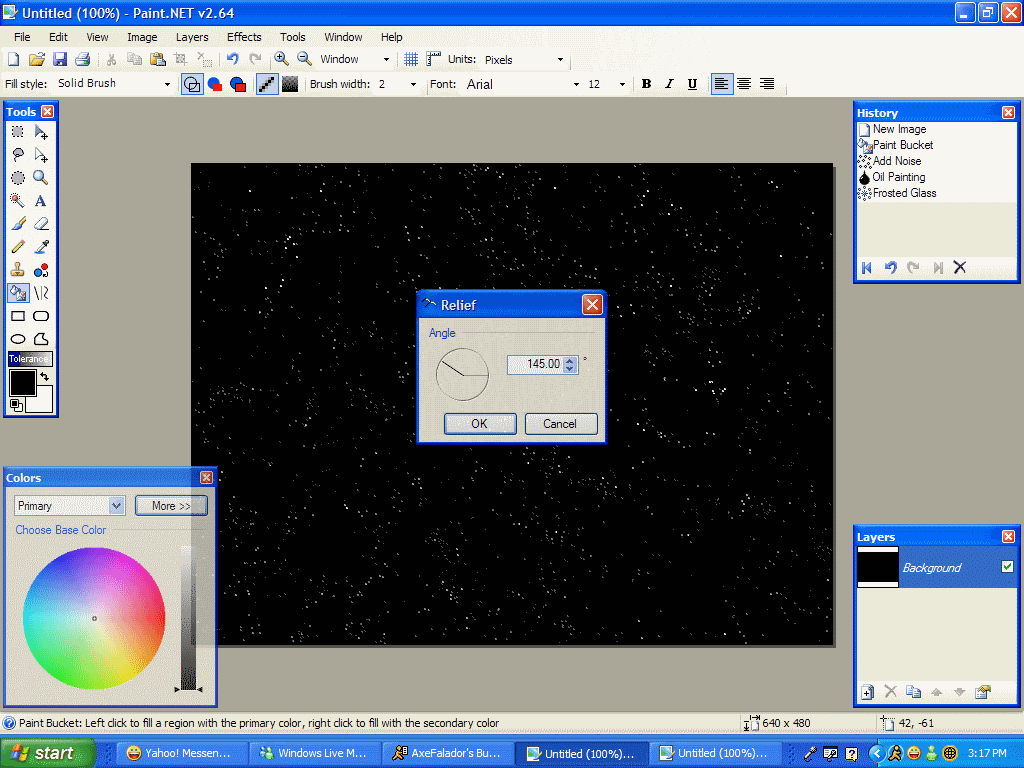
At the top menu bar, choose "Effects" -> "Oil Painting". In the pop-up box, set the brush size to 1, and play around with the coarseness until you're satisfied. I chose the default, 50. Click OK.
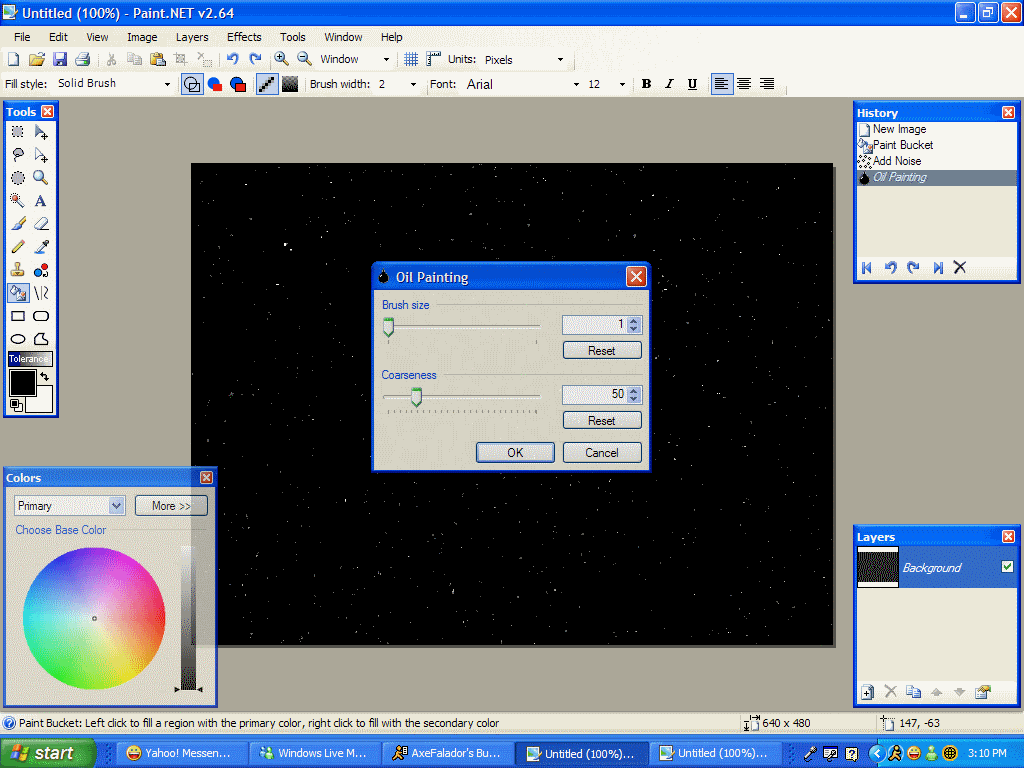
You should now have something like this:
Step 5-
You're almost done. Now, at the top menu bar, choose "Effects" -> "Frosted Glass". Experiment with the pixel size until you're satisfied. The higher you set it, the more "stars" will appear", and the smaller most of the stars will look. I set it to 10, for maximum effect.
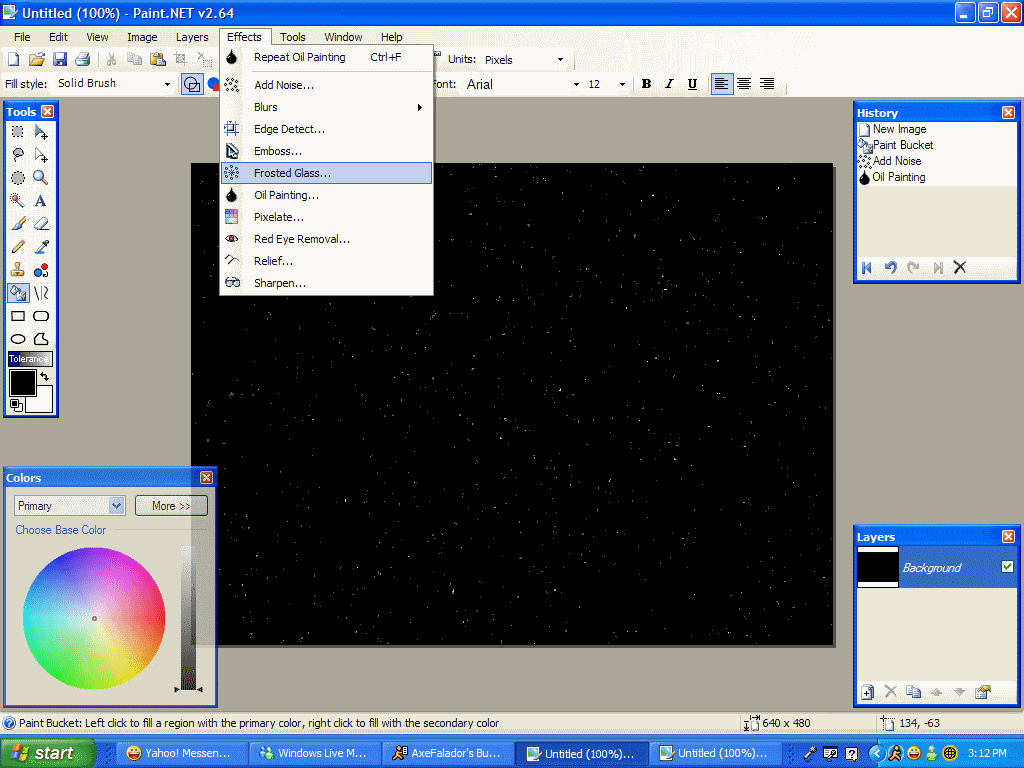
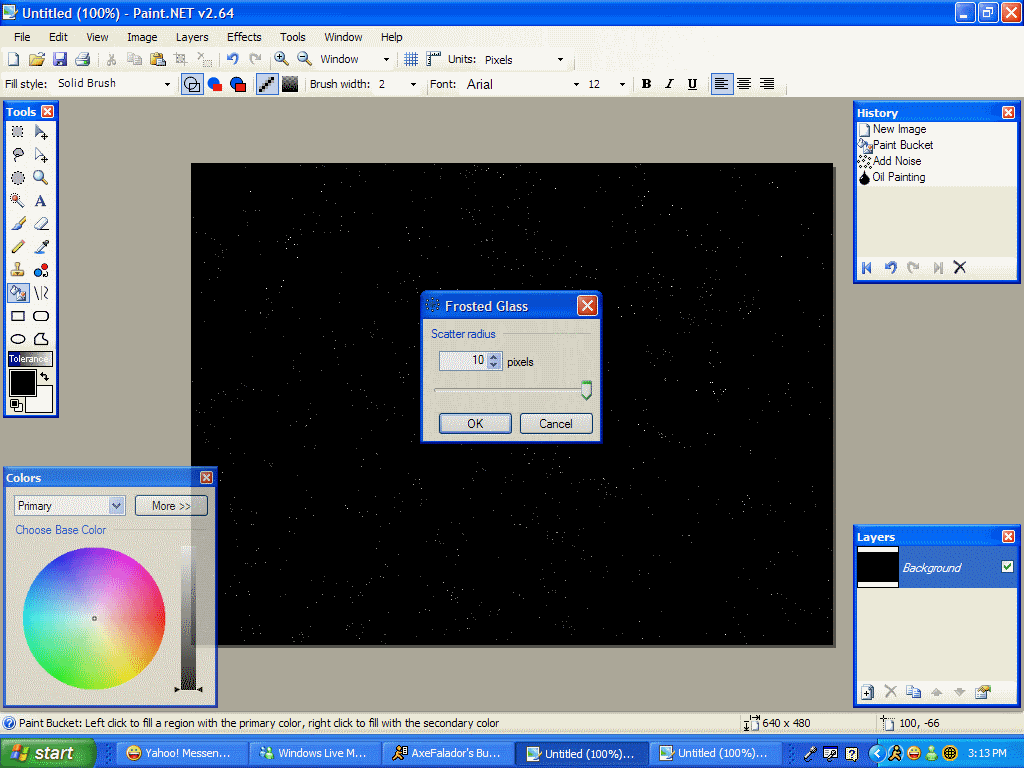
You should now have something that looks like this:
If you really are satisfied, you can stop here. But I have one more step that really makes the starfield look nice.
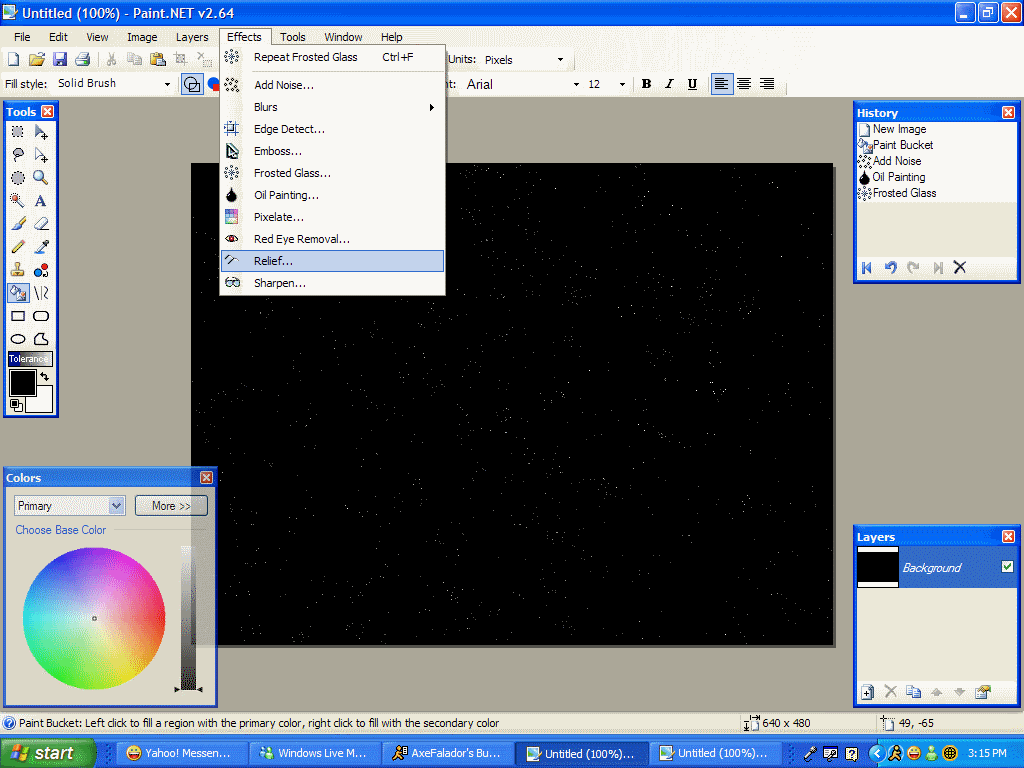
Step 6-
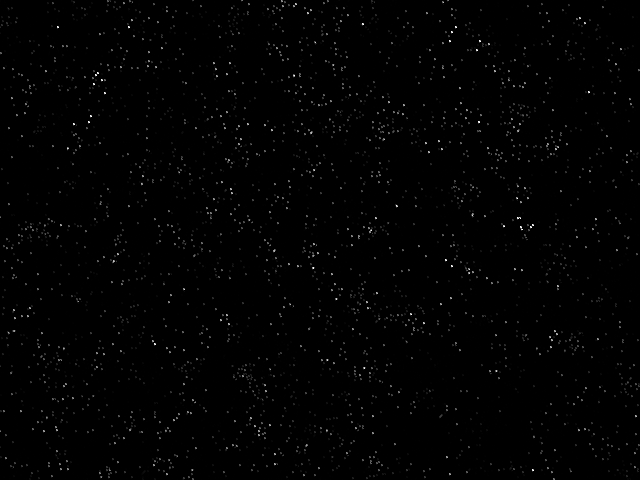
Final step: At the top menu bar, choose "Effects" -> "Relief". In the pop-up box, set the angle to 145.00 degrees. Click OK.
You should end up with something like this:
You're done! But, if you want, you can do this tutorial over and over again, but play with the settings, in each step, to achieve a result that you enjoy more.