


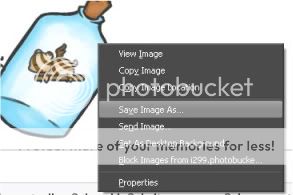
1 ). Choose the image you'd like to save. Right click on it. A drop-down menu with various options should appear. Click on "Save Image As..."
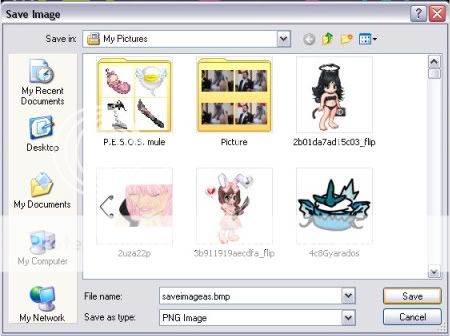
2 ). You will be taken to My Pictures, which is in My Documents. Here, you will be asked to name the image you wish to save. NOTE: If you name the newest image the same as an older image, the older image WILL BE DELETED. You cannot have two images of the same name.
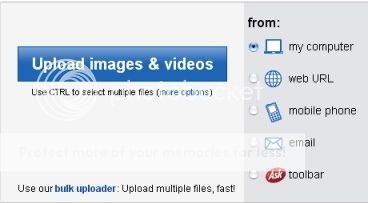
3 ). Go to www.photobucket.com or any other image hosting site and log in or sign up for an account. Once this is done, click the Upload button. For Photobucket users, it will look like this:
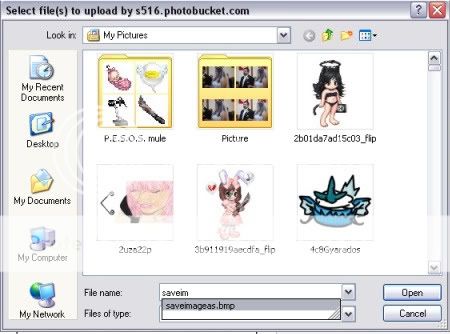
4 ). You will be taken back to My Pictures. If you remember the name of your image, you may type it in in the blank space provided next to File Name. If you don't, you may scroll through your pictures folder until you see the image.
 xxxxxxxxxxx


5 ). After you have found the image you wish to use, click on it once(if you are scrolling) and click "Open."
Sorry no screenie. :c
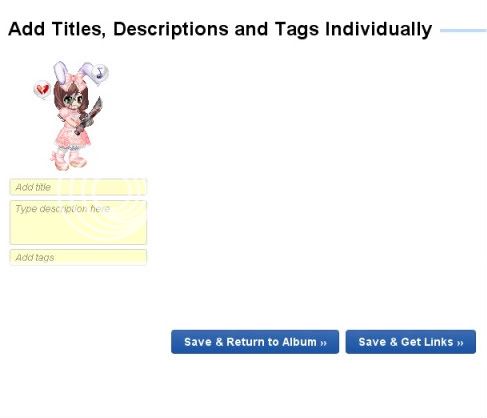
6 ). Your image will being uploading to the hoster. Photobucket users will be taken to a screen asking if you'd like to give your image a title, add a description, and/or set individuality tags. Fill out the boxes appropriately.
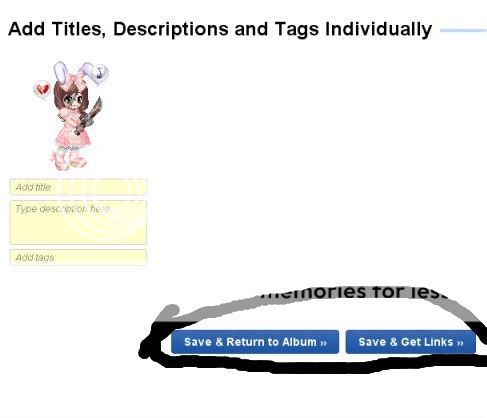
7 ). Once you are finished click either of the buttons on the bottom of the screen. The "Save & Return to Album" button will save your image and take you back to your album. The "Save & Get Links" button will save your image and bring to a page with the image and a list of links for sharing this image.
8 ). Gaia is BBC code supportive. That means that instead of supporting HTML(
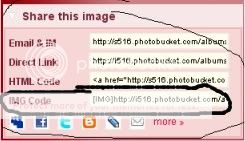
9 ). Just copy this code into any of your posts an voila! Your image should appear in your post!
If you have any questions, feel free to PM me.