BRUISES!
"Bruises are a result of excessive impact on the body which breaks the walls of the blood vessles, this releasing the blood under the skin's surface."
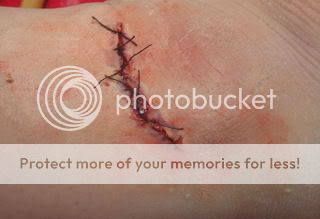
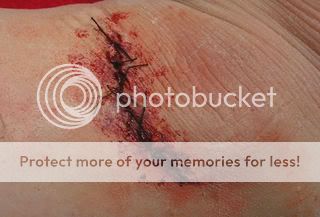
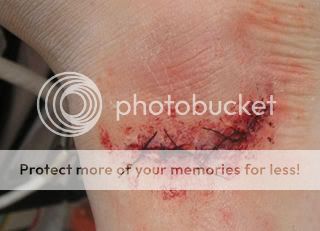
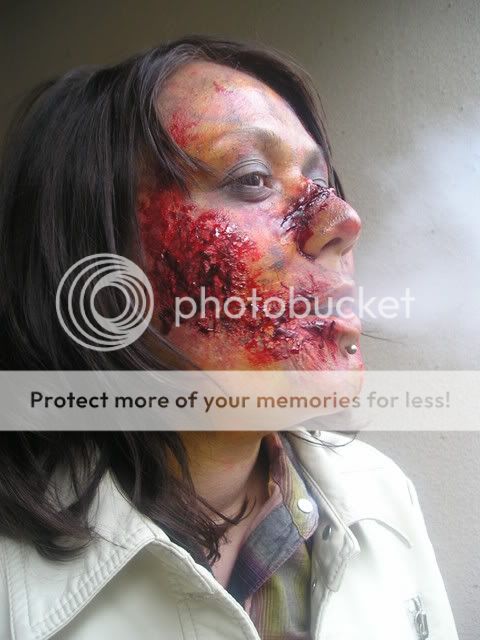
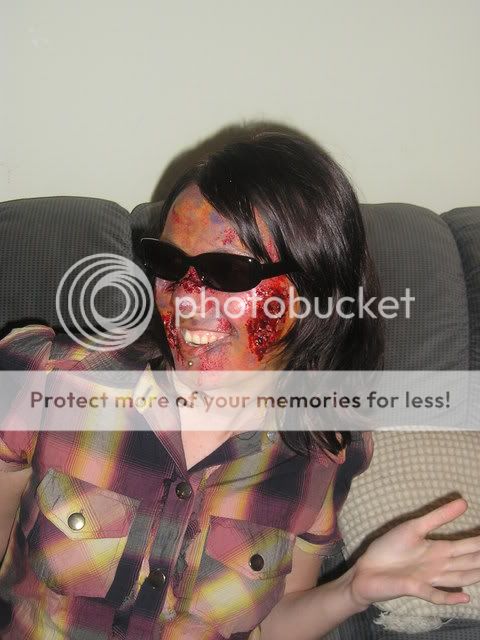
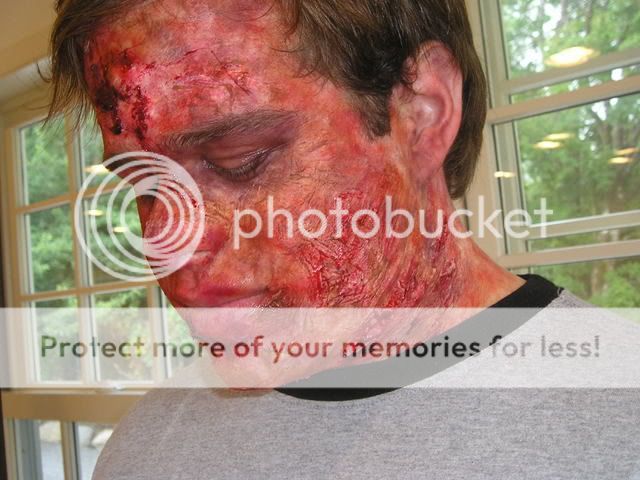
In gore, you'll find yourself using bruises a lot... even when you do a cut or a gunshot wound, there's always trauma to the skin around it!
How a bruise ages
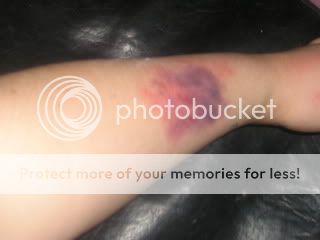
Fresh Bruise: red
1o-12 hours: purple
24 hours: blue
36 hours: green
48 hours: yellow
3days- 1week: brown
This is pretty basic, there's just a few few points to remember:
*Only use 2, maybe three colours at once (ie: red, purple, maybe blue OR green, yellow, maybe brown)
*the older colour would occur at the outter edge as this is where the healing progresses sooner.
*Don't blend too much. A lacey/uneven look is more realistic.
*It ALWAYS help to have a reference picture, so find pics of bruises online to look at.
*When using bruising for swelling, add some light felsh colours as the highlight to emphasize the raising.
*When doing black eyes, you can use some actual black (usually strongest in the inner corner of the eye), though you may want to mix it with a bit of blue or purple to tone it down a tad.
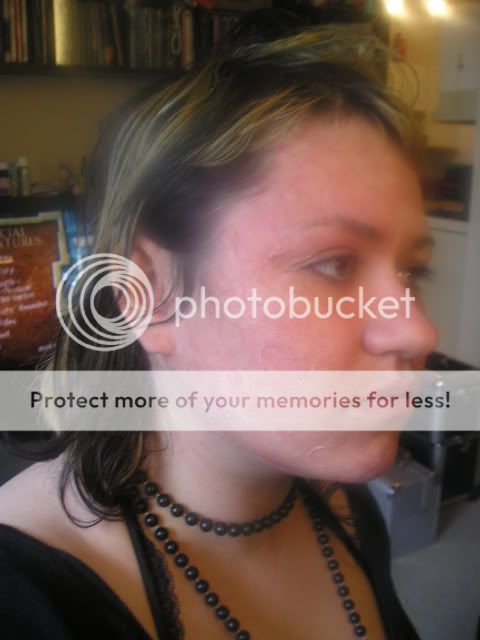
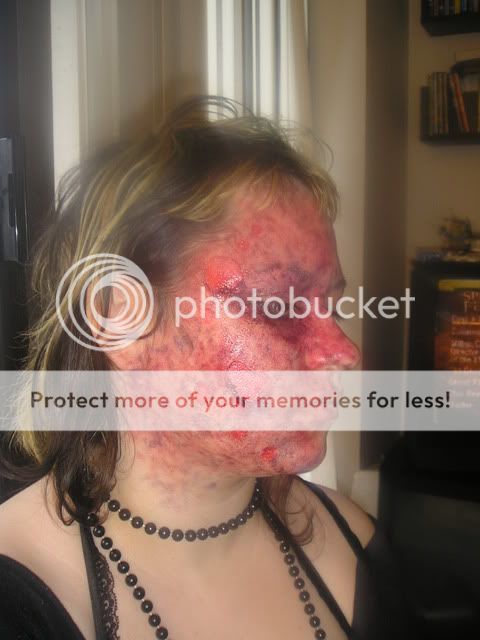
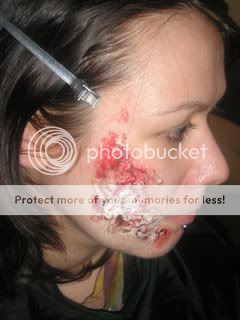
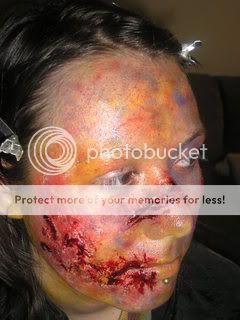
How To Do It
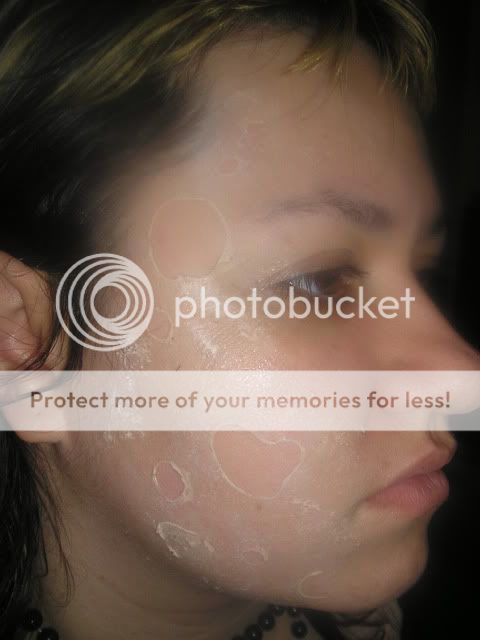
I'm not enjoying the lighting in here one bit sad Sorry, it's orangey lighting + the flash on my camera=no good sad
But you get the overall idea at least... I'll try to do some more in the daytime!
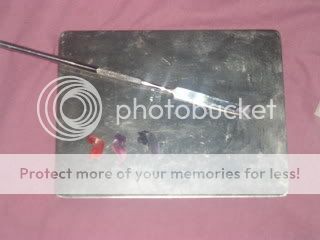
MATERIALS
Normally I'd use skin illustrator (an alcohol based paint that tends to fade into the skin and look a bit more realistic), but since I'm sure most of you will be using creams-- and cause when Bryan did my zombie makeup the other day he accidently packed up my alcohol and took it with him-- I'm breaking out my creams to try this today!
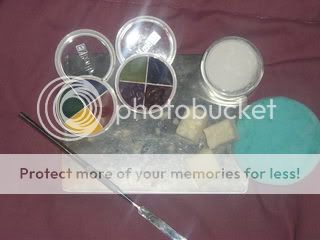
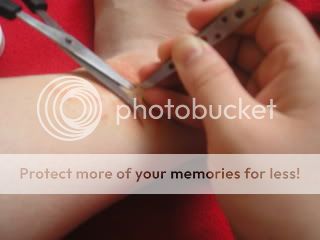
So we've got two bruise wheels here, BN CK-1 Bruises and BN CK-3 Cuts & Bruises. There's my translucent powder, a miller powder puff, my spatula, pallette, and bits of latex sponges.
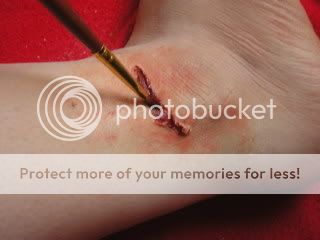
Notice the little teensy balls pulled out next to the sponges? What you want is an uneven surface on your sponge, so never just use a smooth edge. Break your wedge into pieces, then pull out teensy bits to get a very textured surface to paint with.
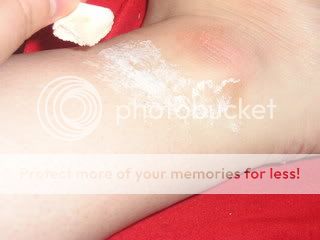
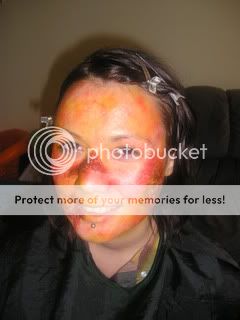
You never want to dip your sponge right into the makeup, (it's just not sanitary!) So scoop out a tiny bit of each colour you're using (red, purple, blue here).
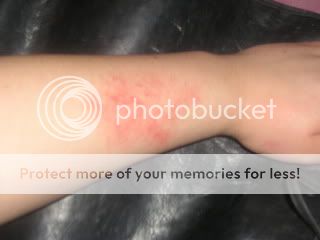
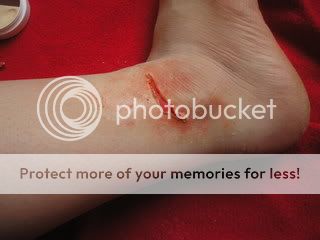
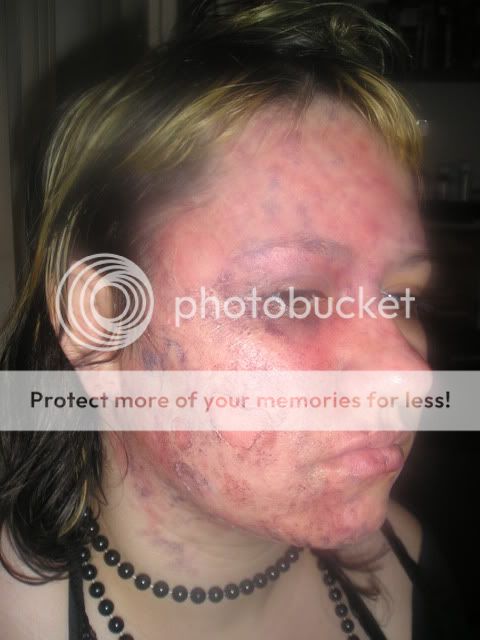
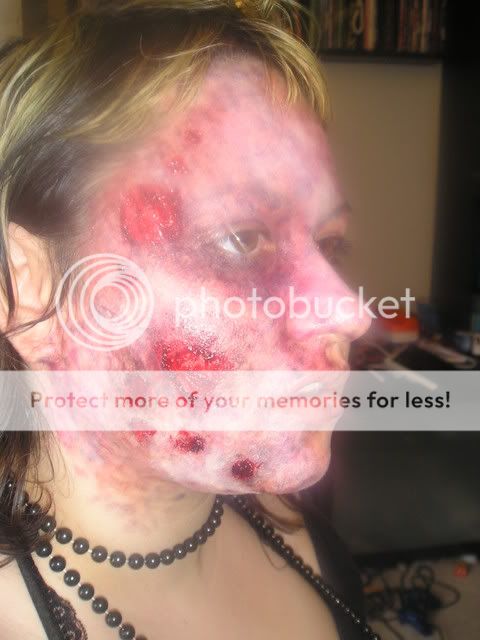
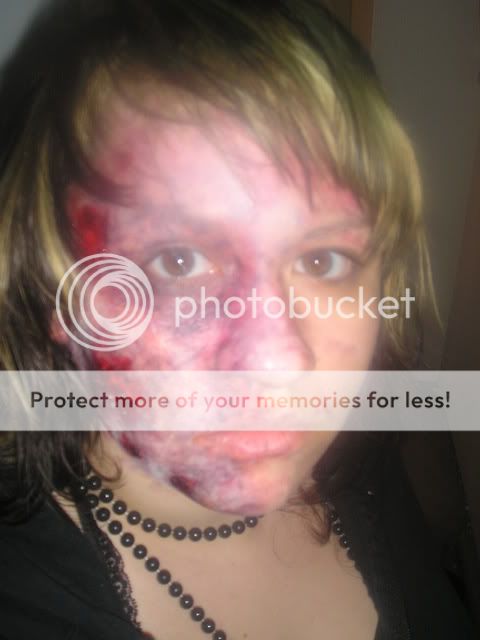
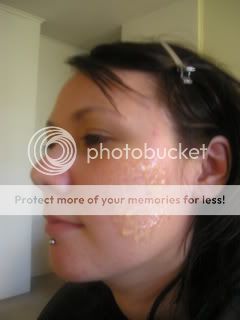
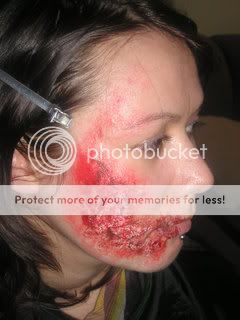
Stipple (gently pat and lift, don't rub it on) on a light layer of your red in an uneven pattern.
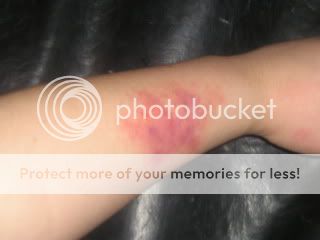
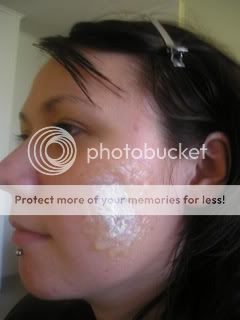
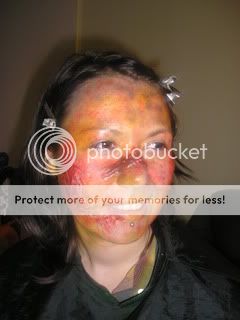
Add your next colour, in this case purple, but don't overwhelm the first colour.
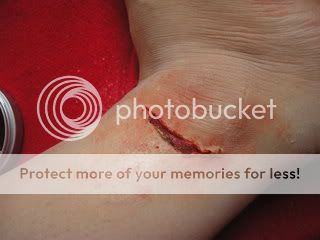
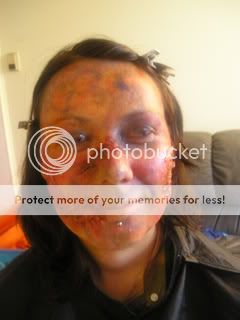
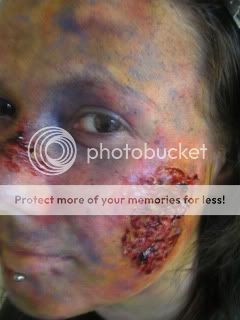
For this one, I added a bit of the blue for depth, stippling it within the purple.
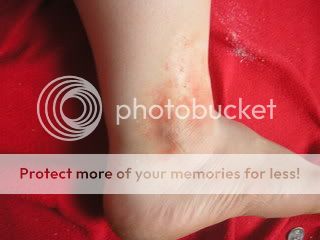
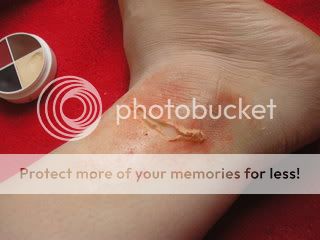
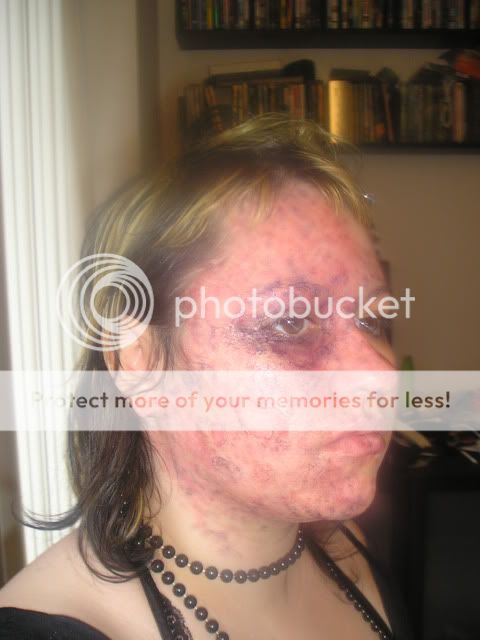
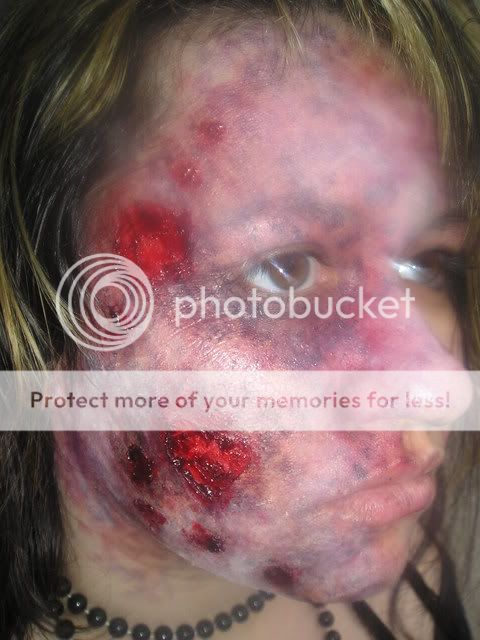
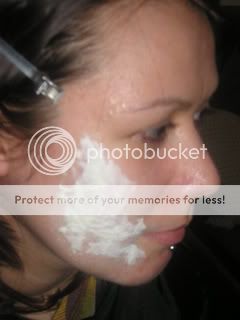
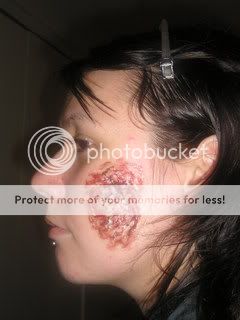
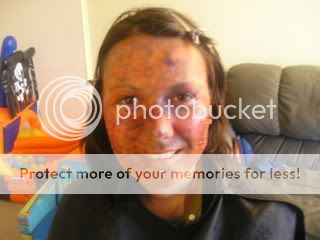
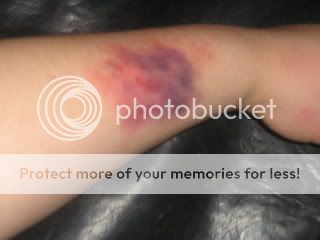
Now powder it to set the makeup and sink the colour into the skin a bit more. Press the powder in with a powderpuff, don't rub!!
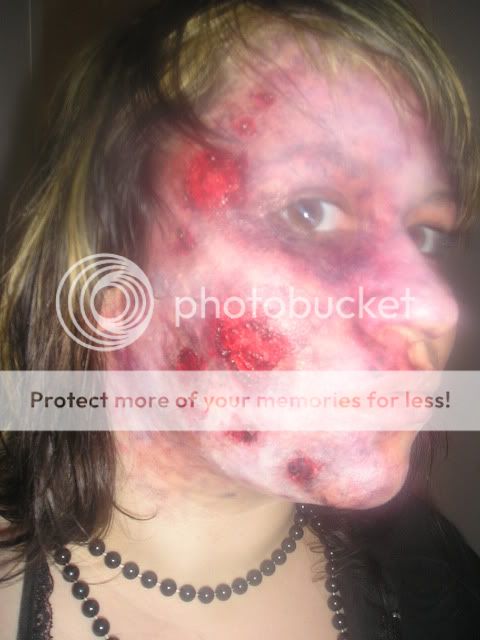
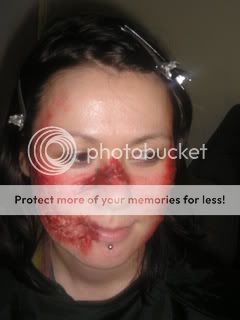
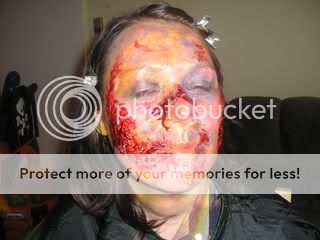
Gargh... flash killing contrats... its actually blended really nicely! crying